Developing Film
Story Time: Welcome to the first roll of film I’ve every shot, processed, and scanned myself. To put it plainly… I had to get over a lot of hurdles to get to this point. Let’s start with mixing chemistry. Simple knowledge becomes extremely hard to obtain when you’re already on pins and needles. Realizing my developing tank only needed 500ml and what a 1 + 9 mix looked like took me WAY too long. Looking back on it, I shake my head at how simple everything was (minus transferring the film to the developing tank, we’ll get to that), but when you’re under pressure you don’t think straight. Ok, developer mixed (Ilfosol 3), fixer (Ilford Rapid Fixer), and Kodak Photo Flo at the ready (didn’t mix, just drop a very small amount in before final wash).
Things to remember to have in your dark bag when transferring the film to your developing tank… SCISSORS!!! It may be too complicated to explain on here, but I used a mechanical can opener to pry open the film can (it had a nice sharp edge I could lift up the lip of the film can whereas the bottle opener I was going to use wouldn’t grip the film can lip). As soon as I pop open the film can, I look over and see the bright blue scissors to my left, outside of the dark bag. I literally laugh out loud and say, ok, how am I going to solve this problem? The leader was still protruding long and proud, not letting me load the film on the metal spindle. I tried this for about 15 minutes and nothing. I was about to give up when the thought hit me… THE SHARP EDGE OF THE CAN OPENER!! I knew this was a long shot, but it was better to try than let a whole roll go to waste. I organize the inside of the dark bag and positions the can opener open with the sharp wheel protruding in the center. I line up the film leader and attempt to hack away similarly the way you’ve seen people take dull metal in movies to cut through thick rope binding their hands. Surprisingly, the film cut quite easily! “What a relief” I whisper, but unfortunately the film edge was not straight and took me several more attempts until I got it cut just right to load right. Ok… the film is cut good enough, it’s loading ok, it seems. And we get to the end… Yeah, I must have loaded it way off because there was a solid rotation left worth of film that wasn’t on the spindle. “Well, time to get surgical again”. I cut the remainder off and load it onto the second spindle. Sealed the metal developing tank and BAM!!! It was a done deal… 45 minutes later LMBO!!!
Take aways: Film is a lot tougher than I thought. I was sure I effed it ALL up and that this exercise was going to be just that… practice. I was wrong and about 30 of the 36 frames turned out great!!! More on that over time.
Info:
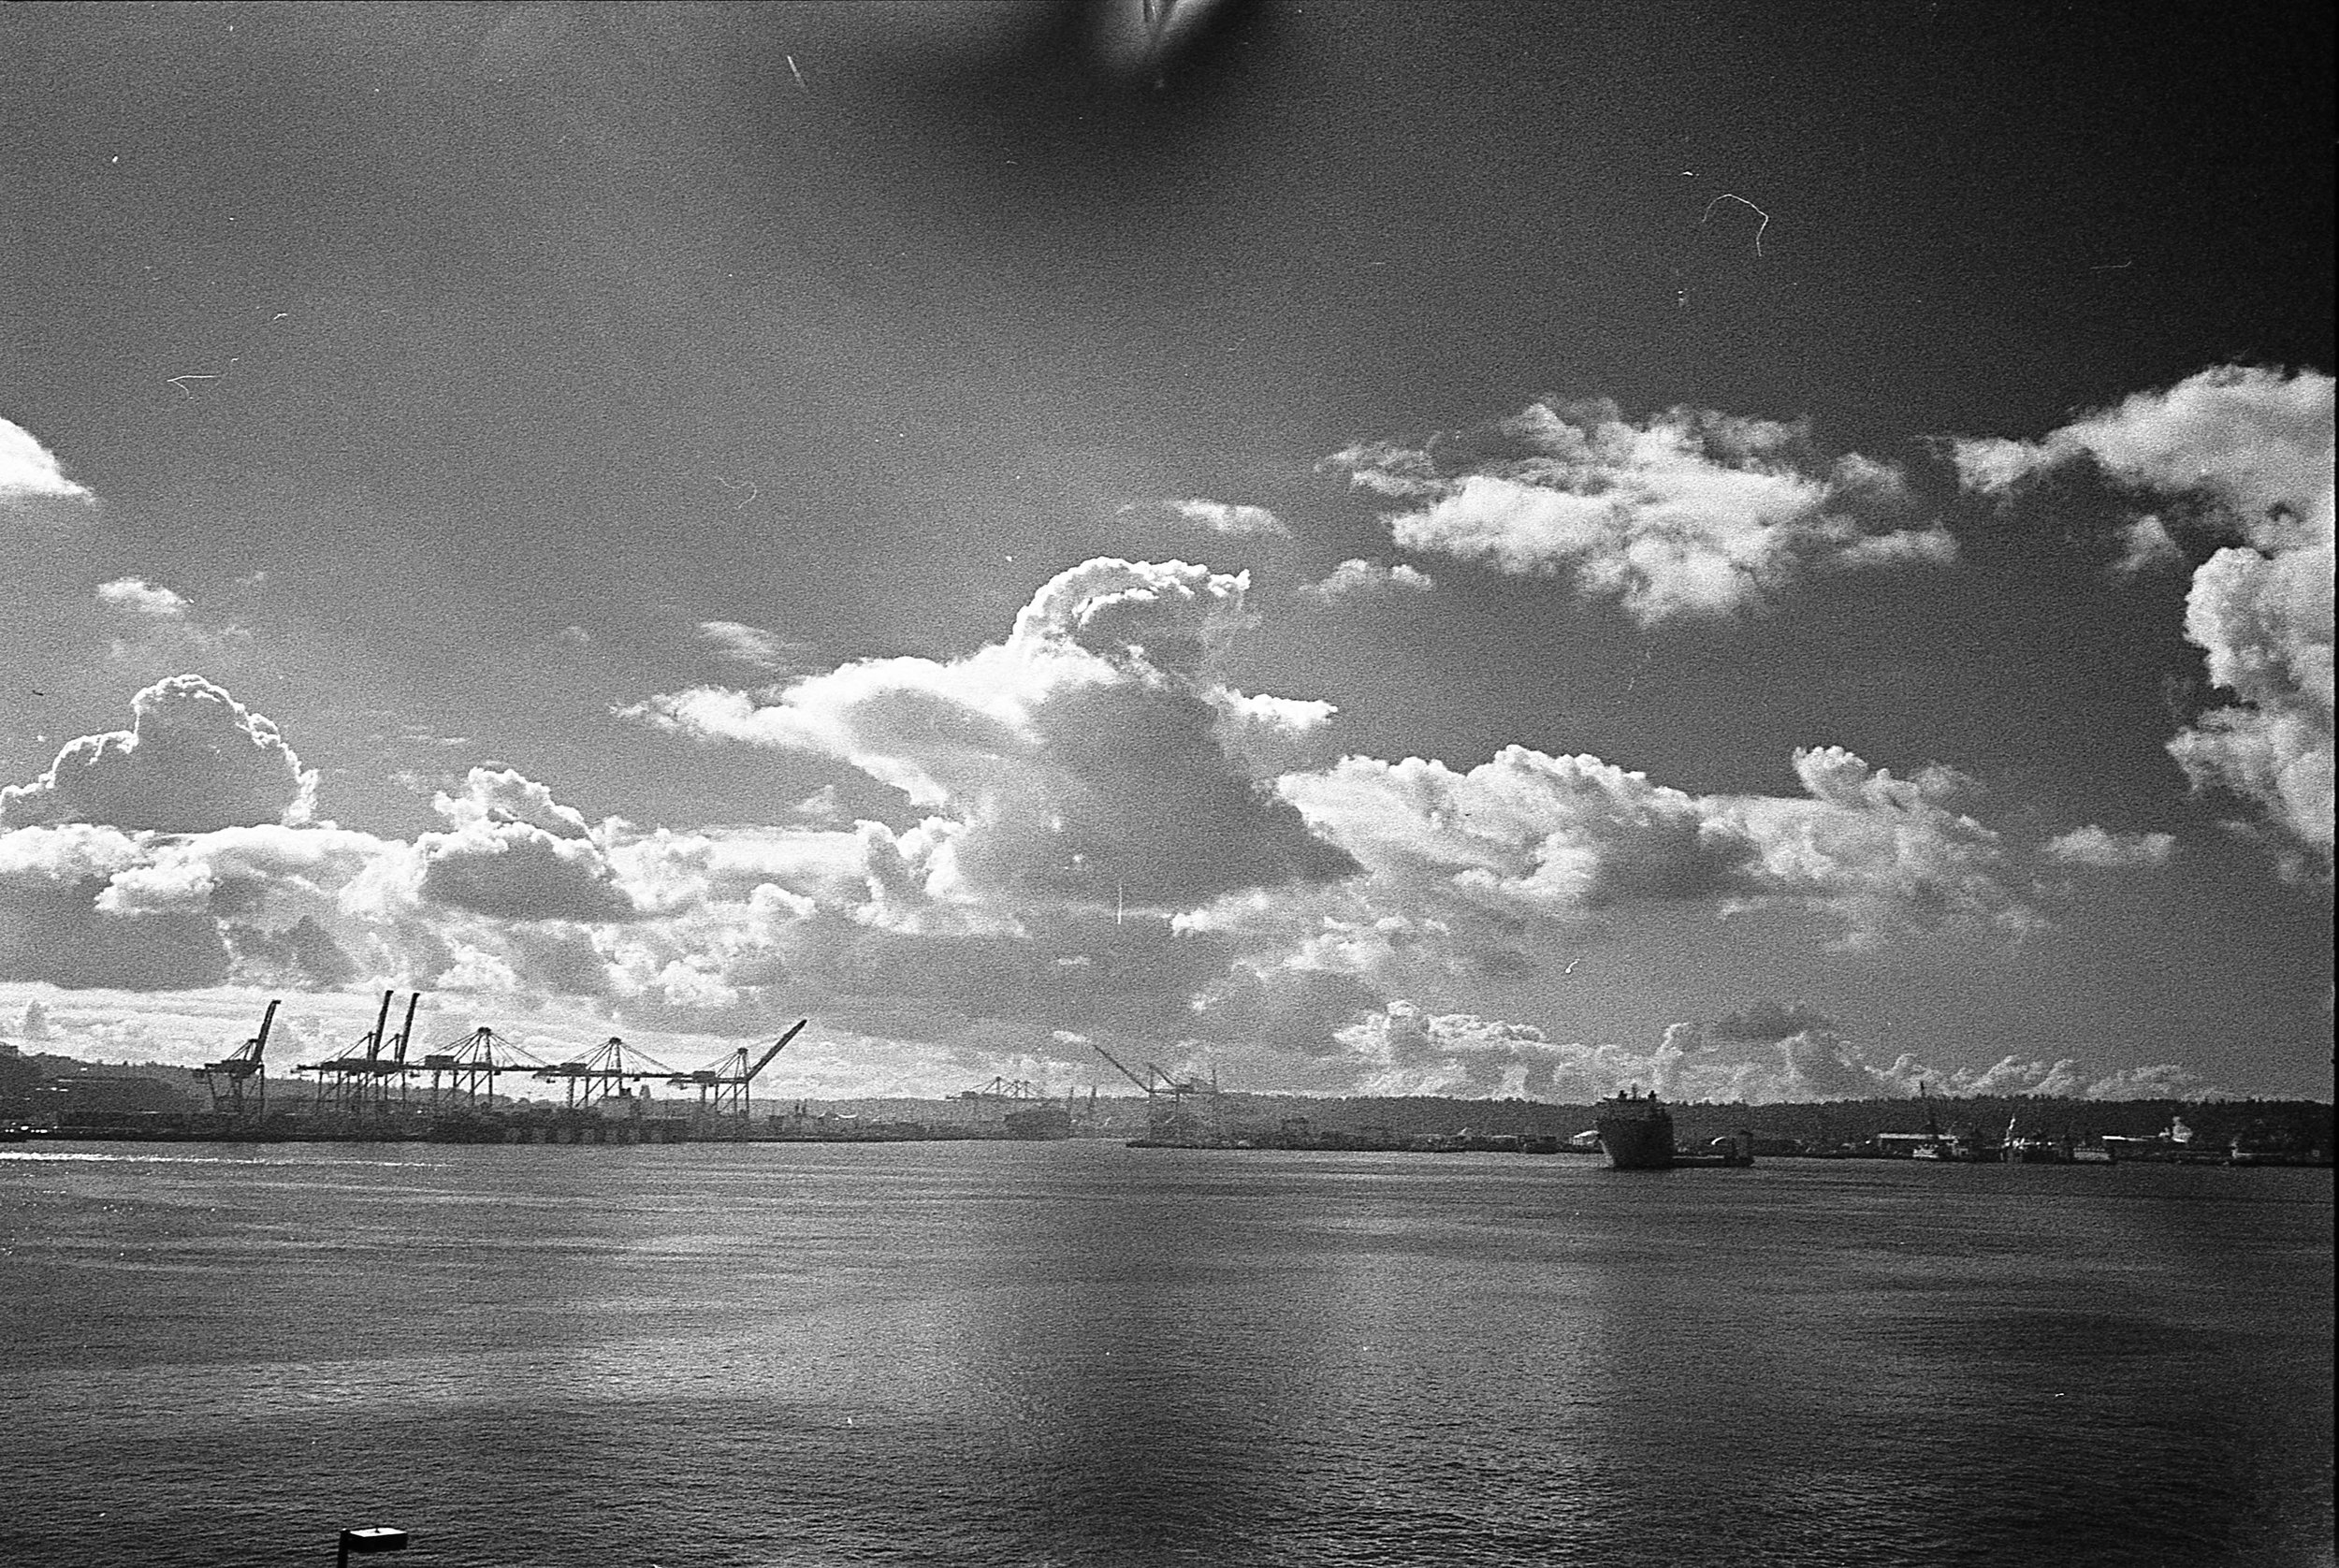
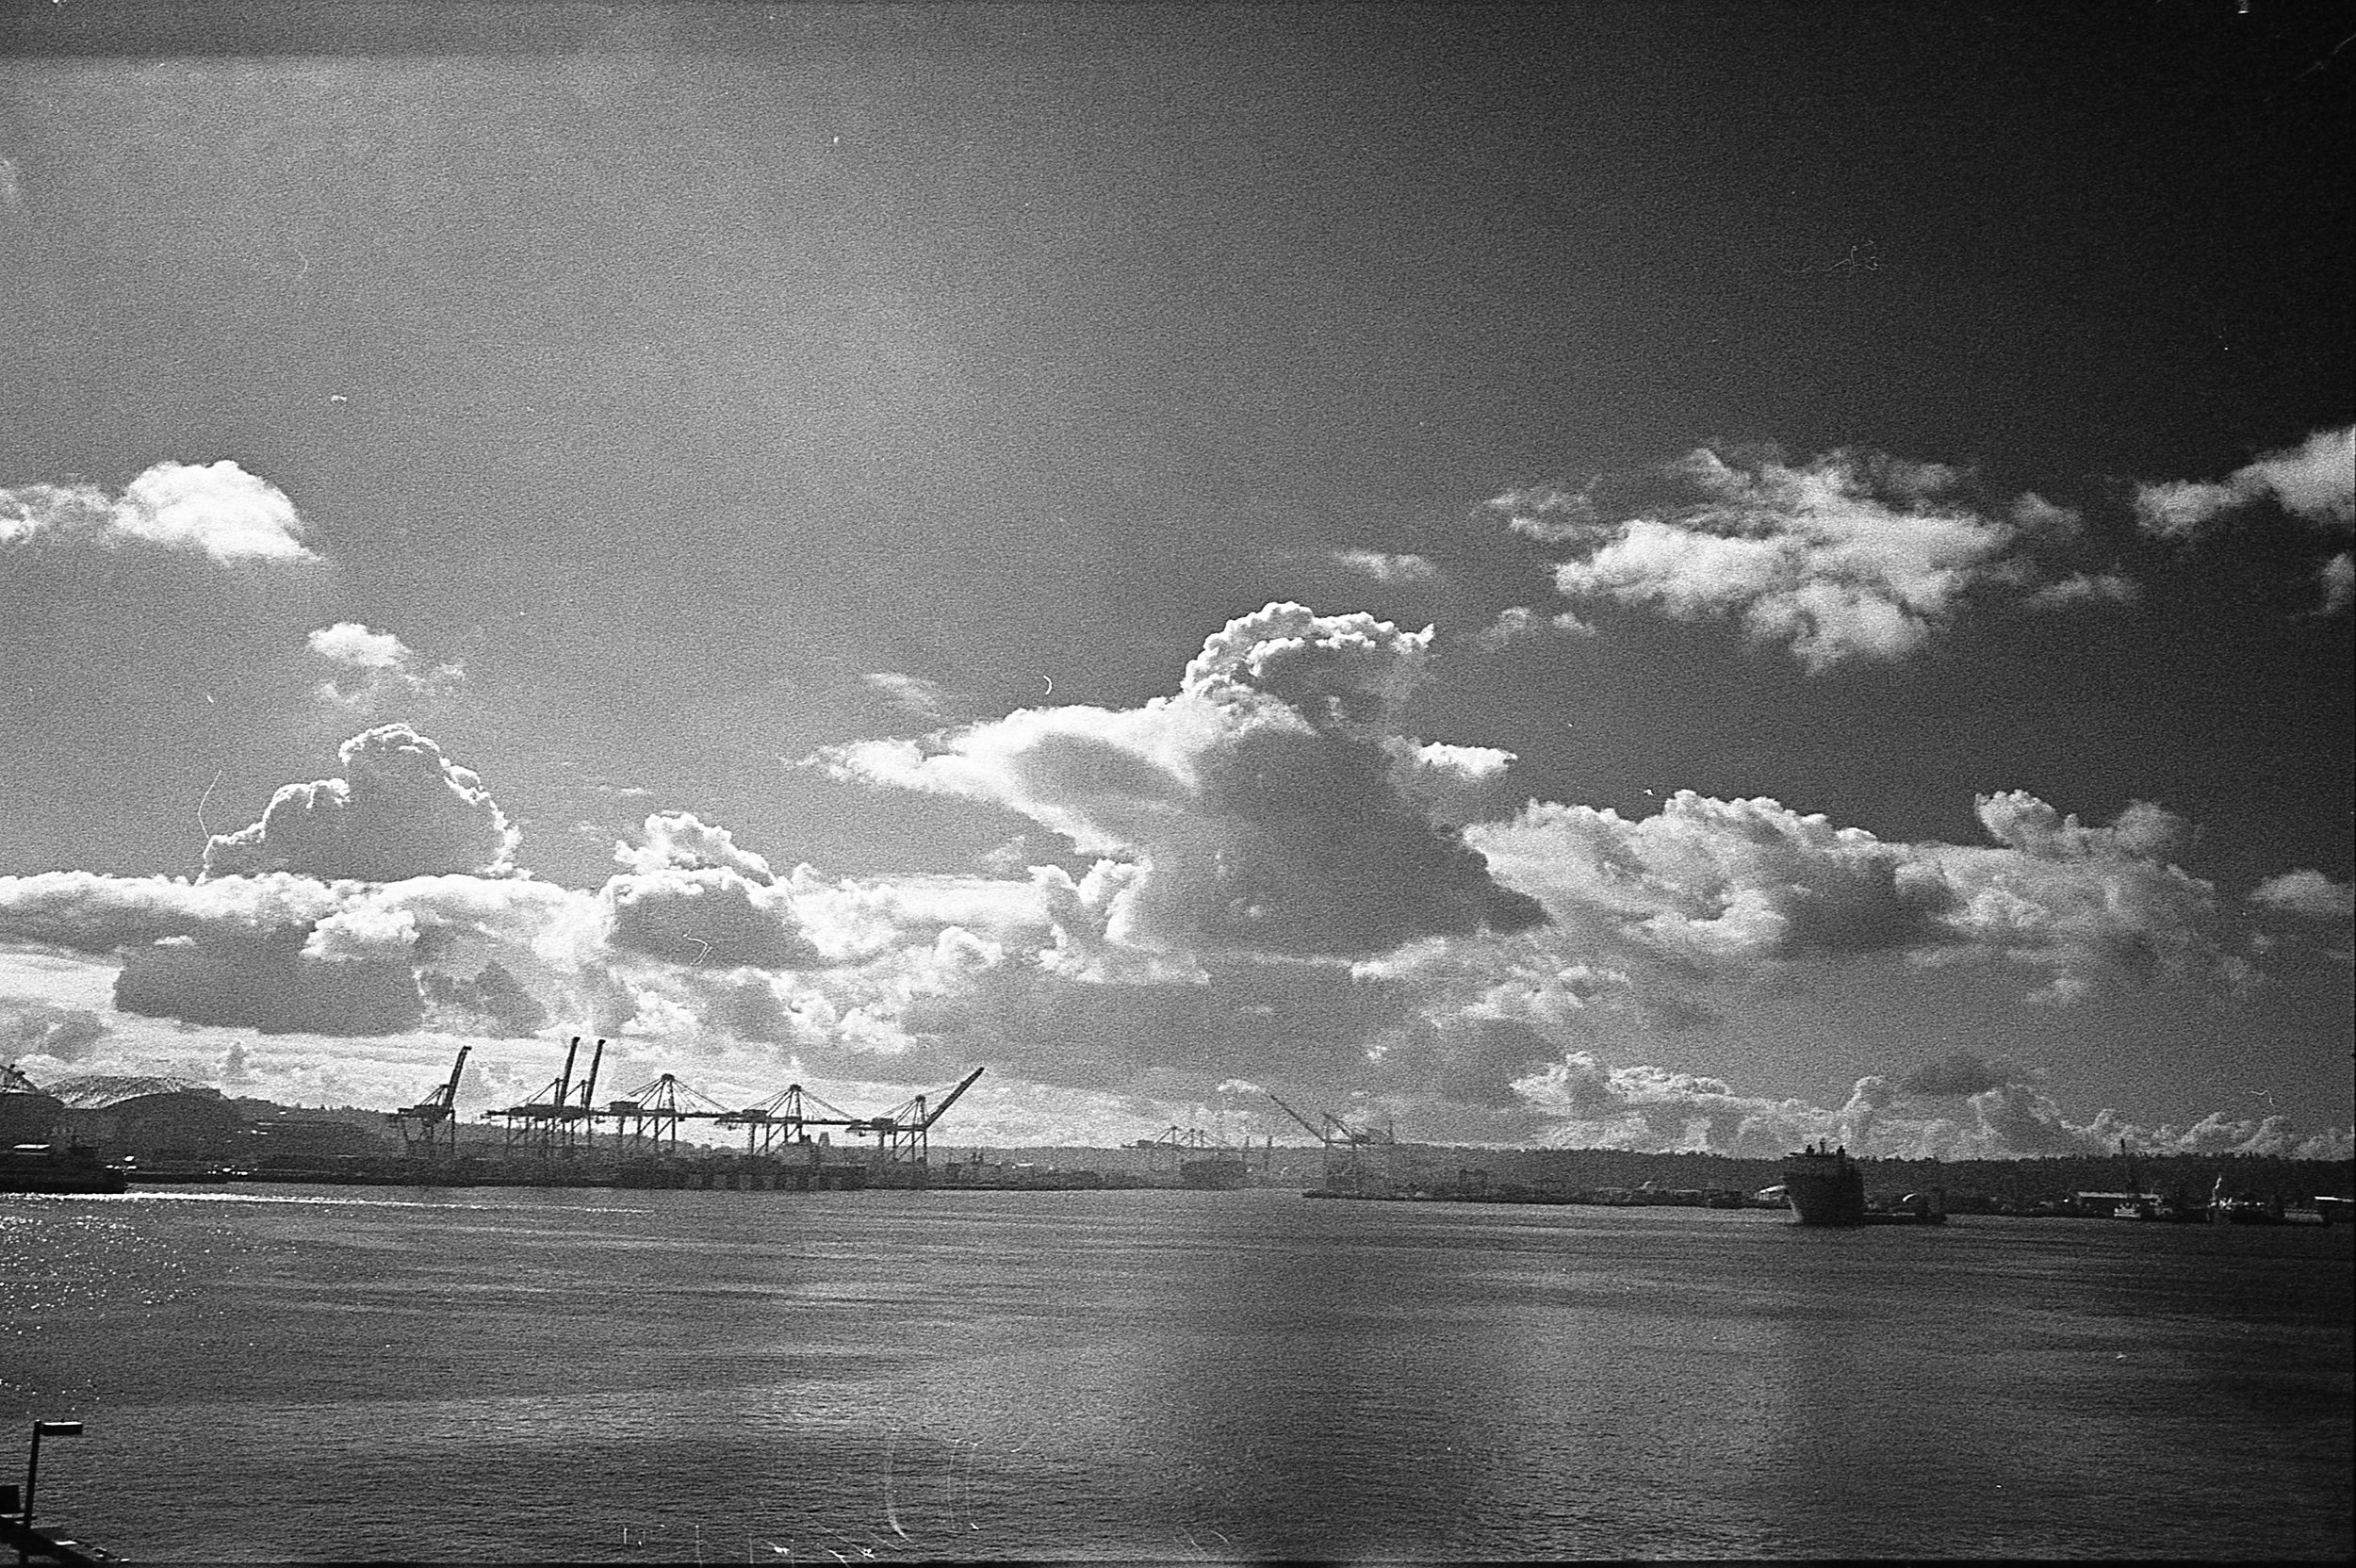
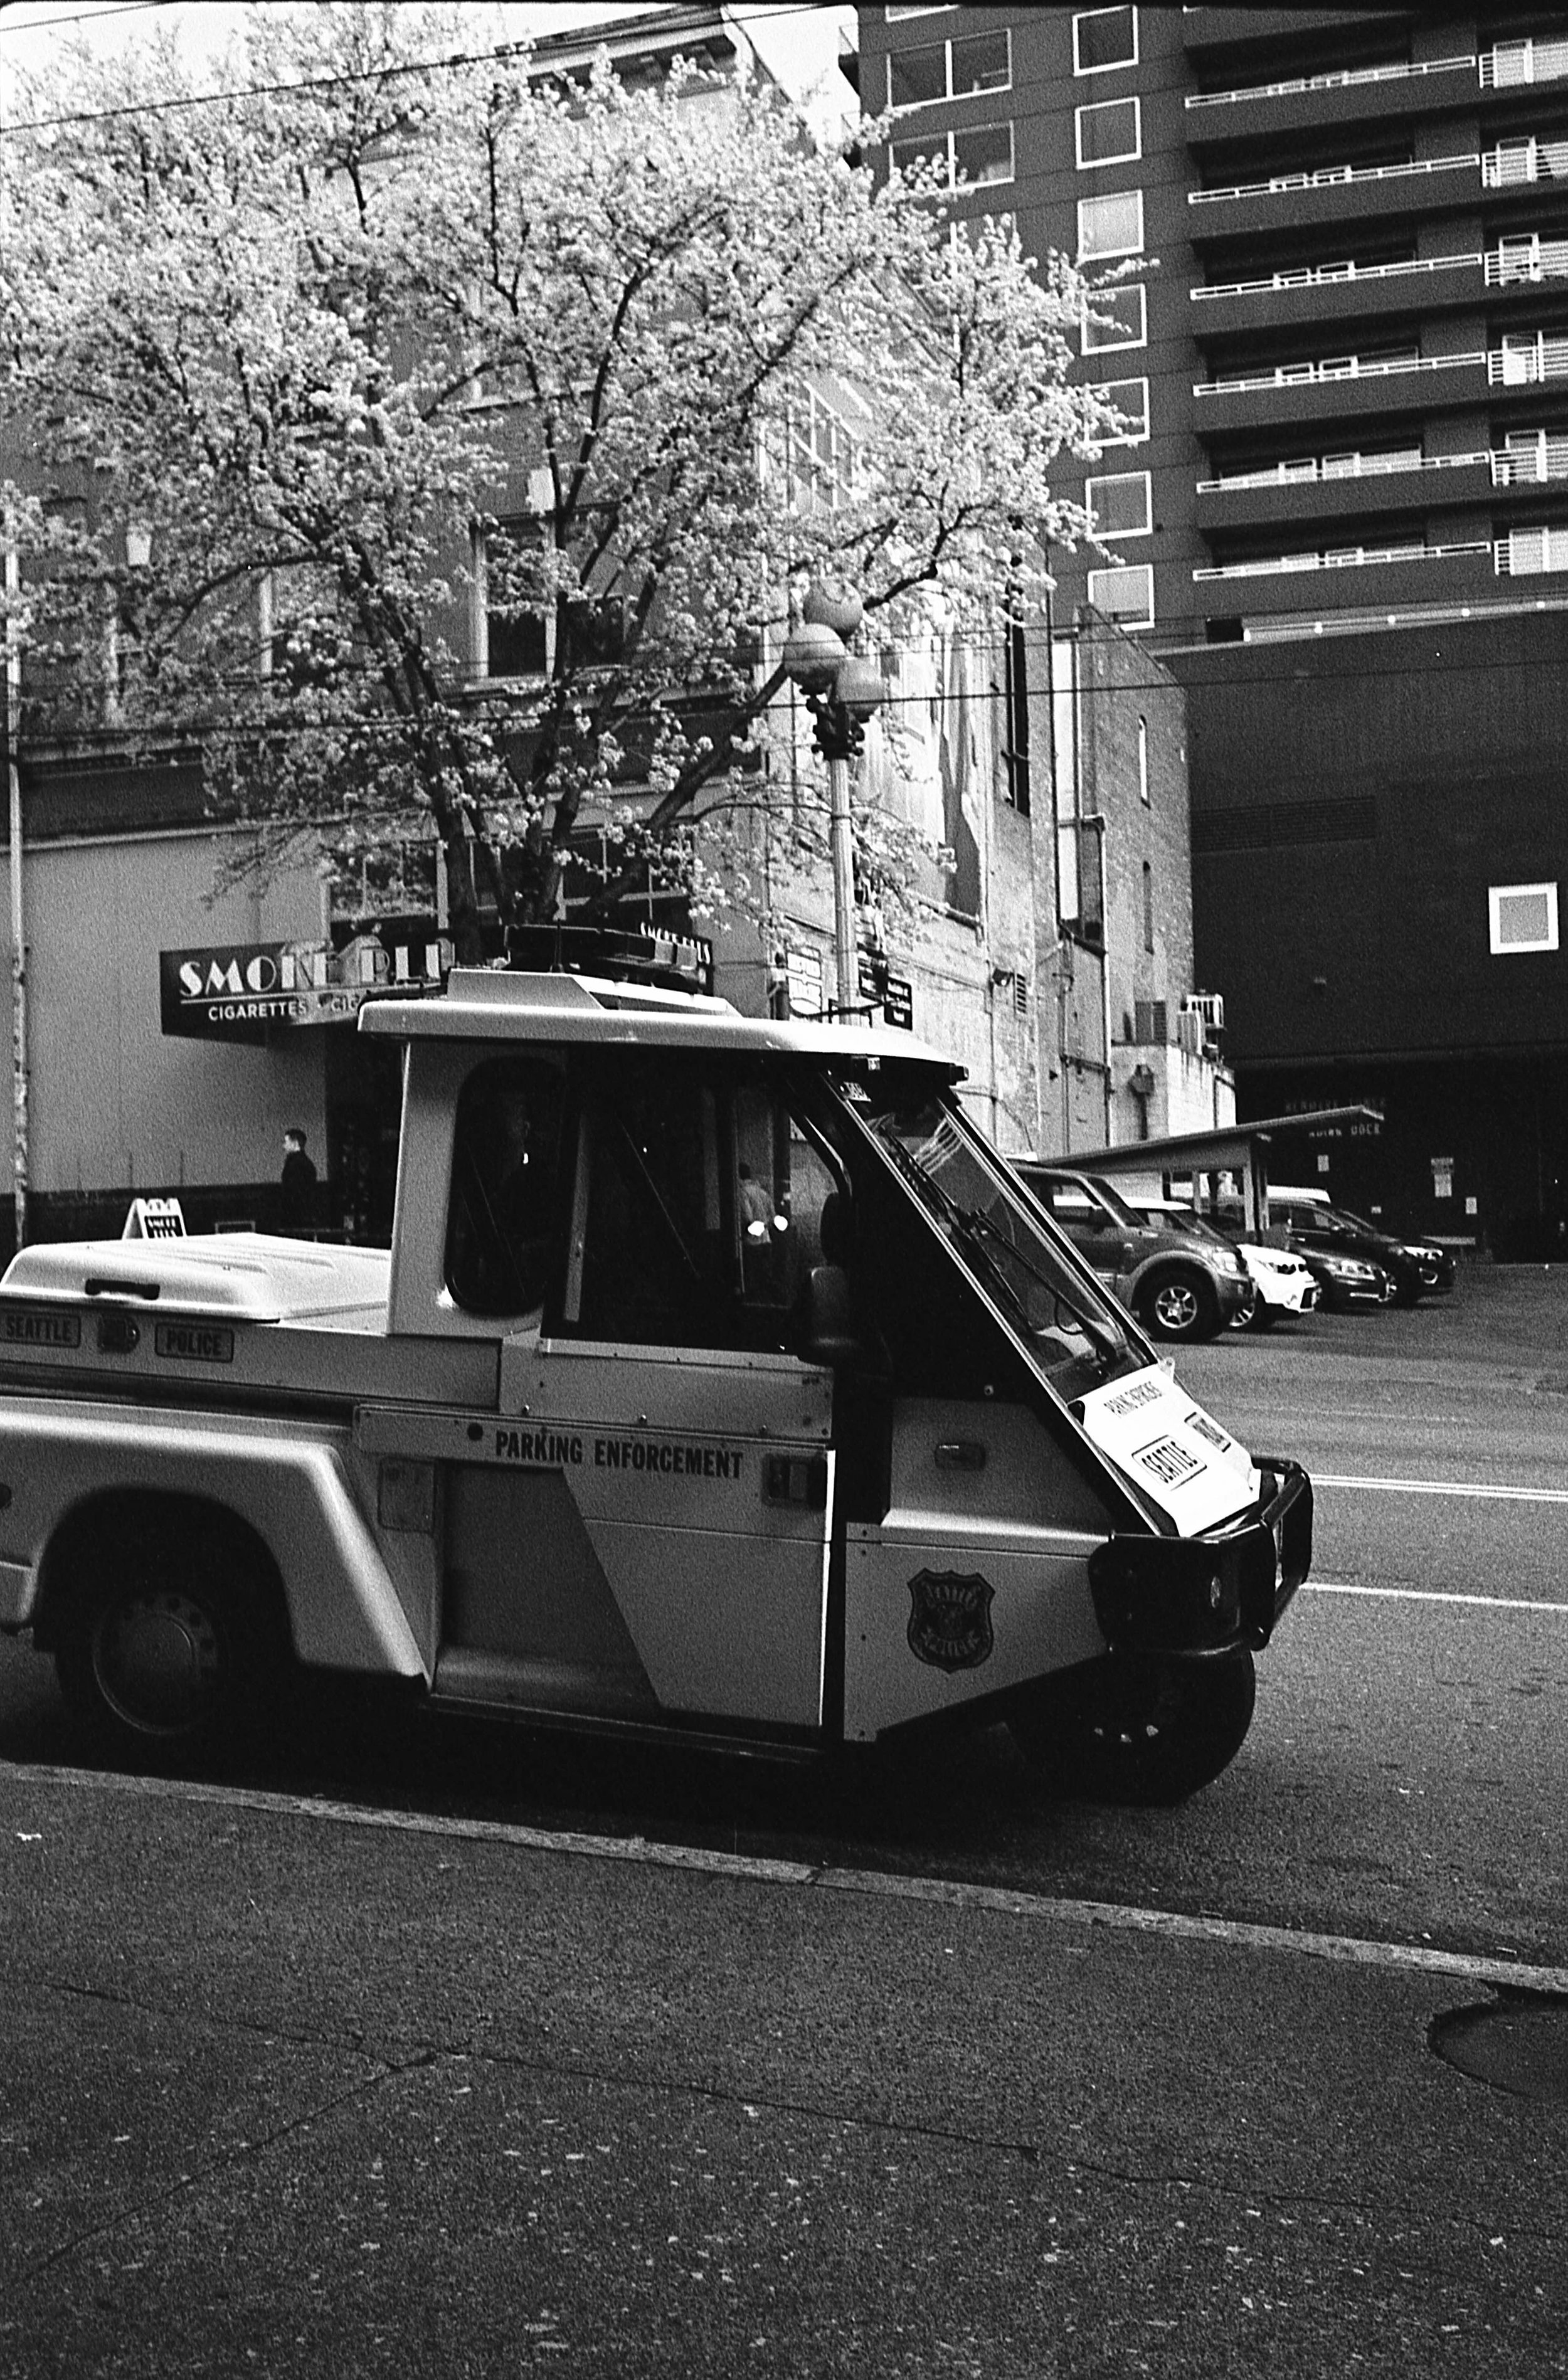
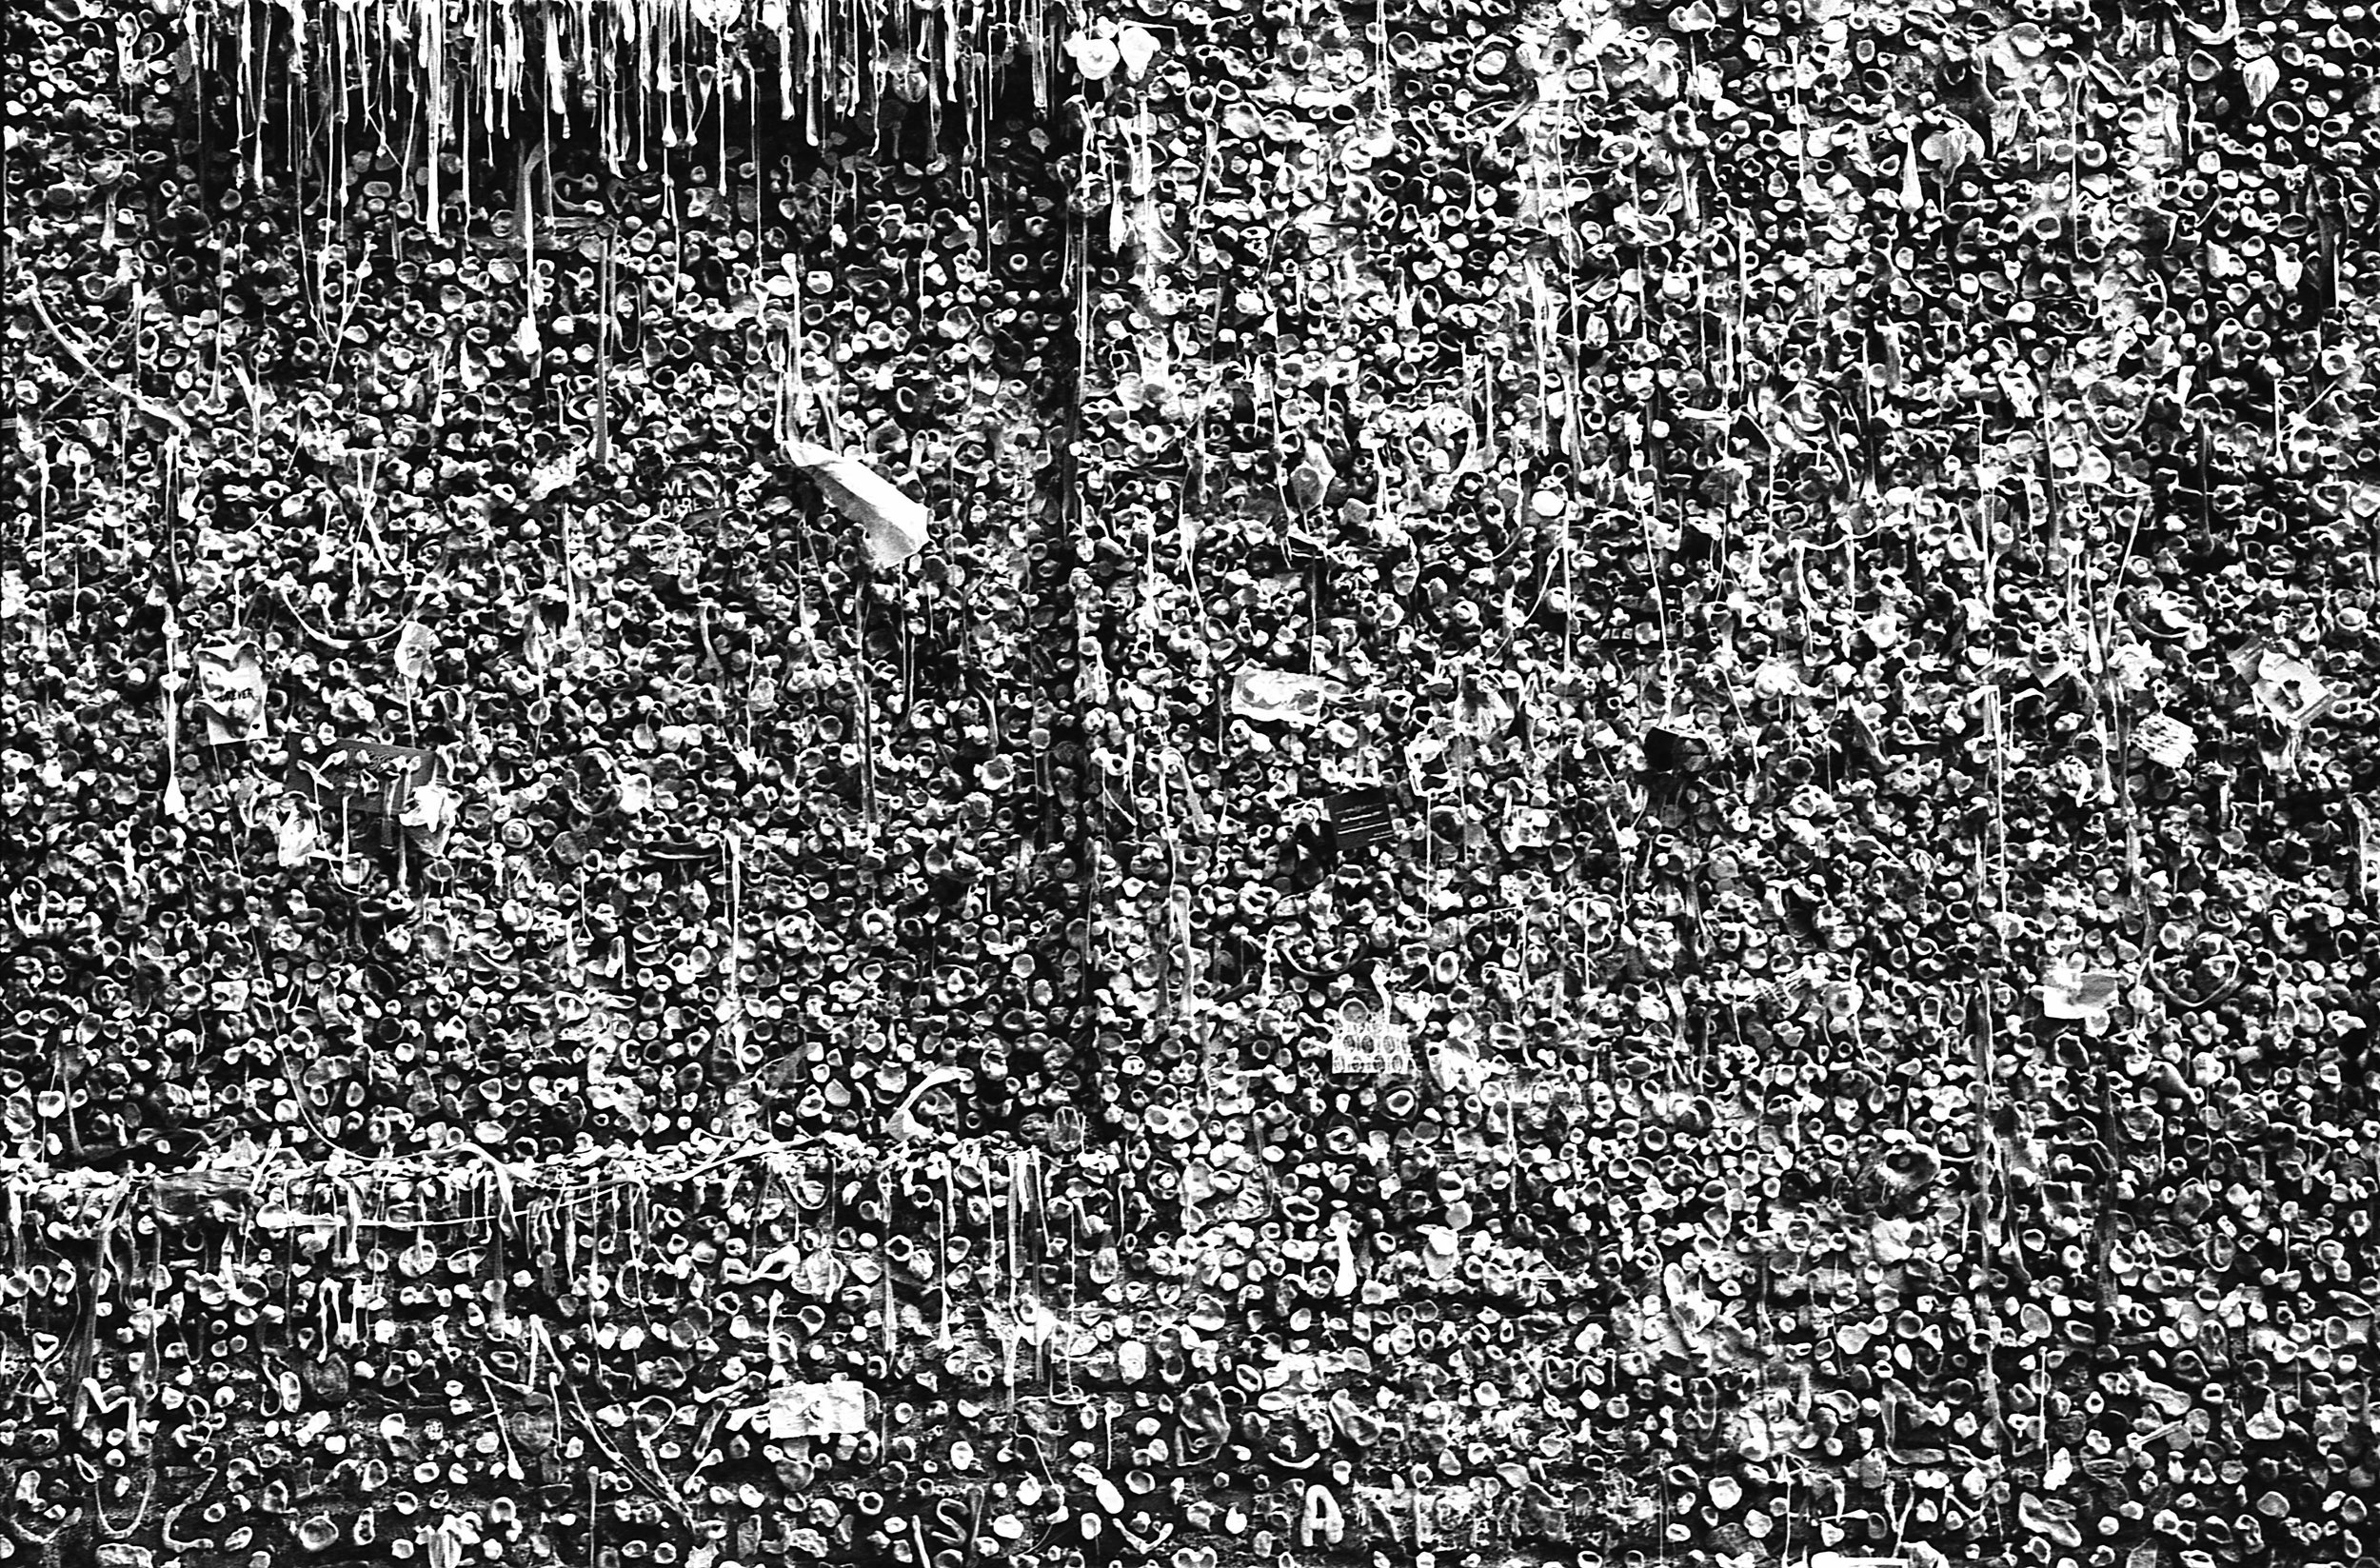
- Location: Seattle, WA
- Camera: Voigtlander Bessa R2A
- Lens: Zeiss ZM 35mm 2.8
- Film: Kodak TMax 400 (shot at box speed)
- Scanner: Epson V600
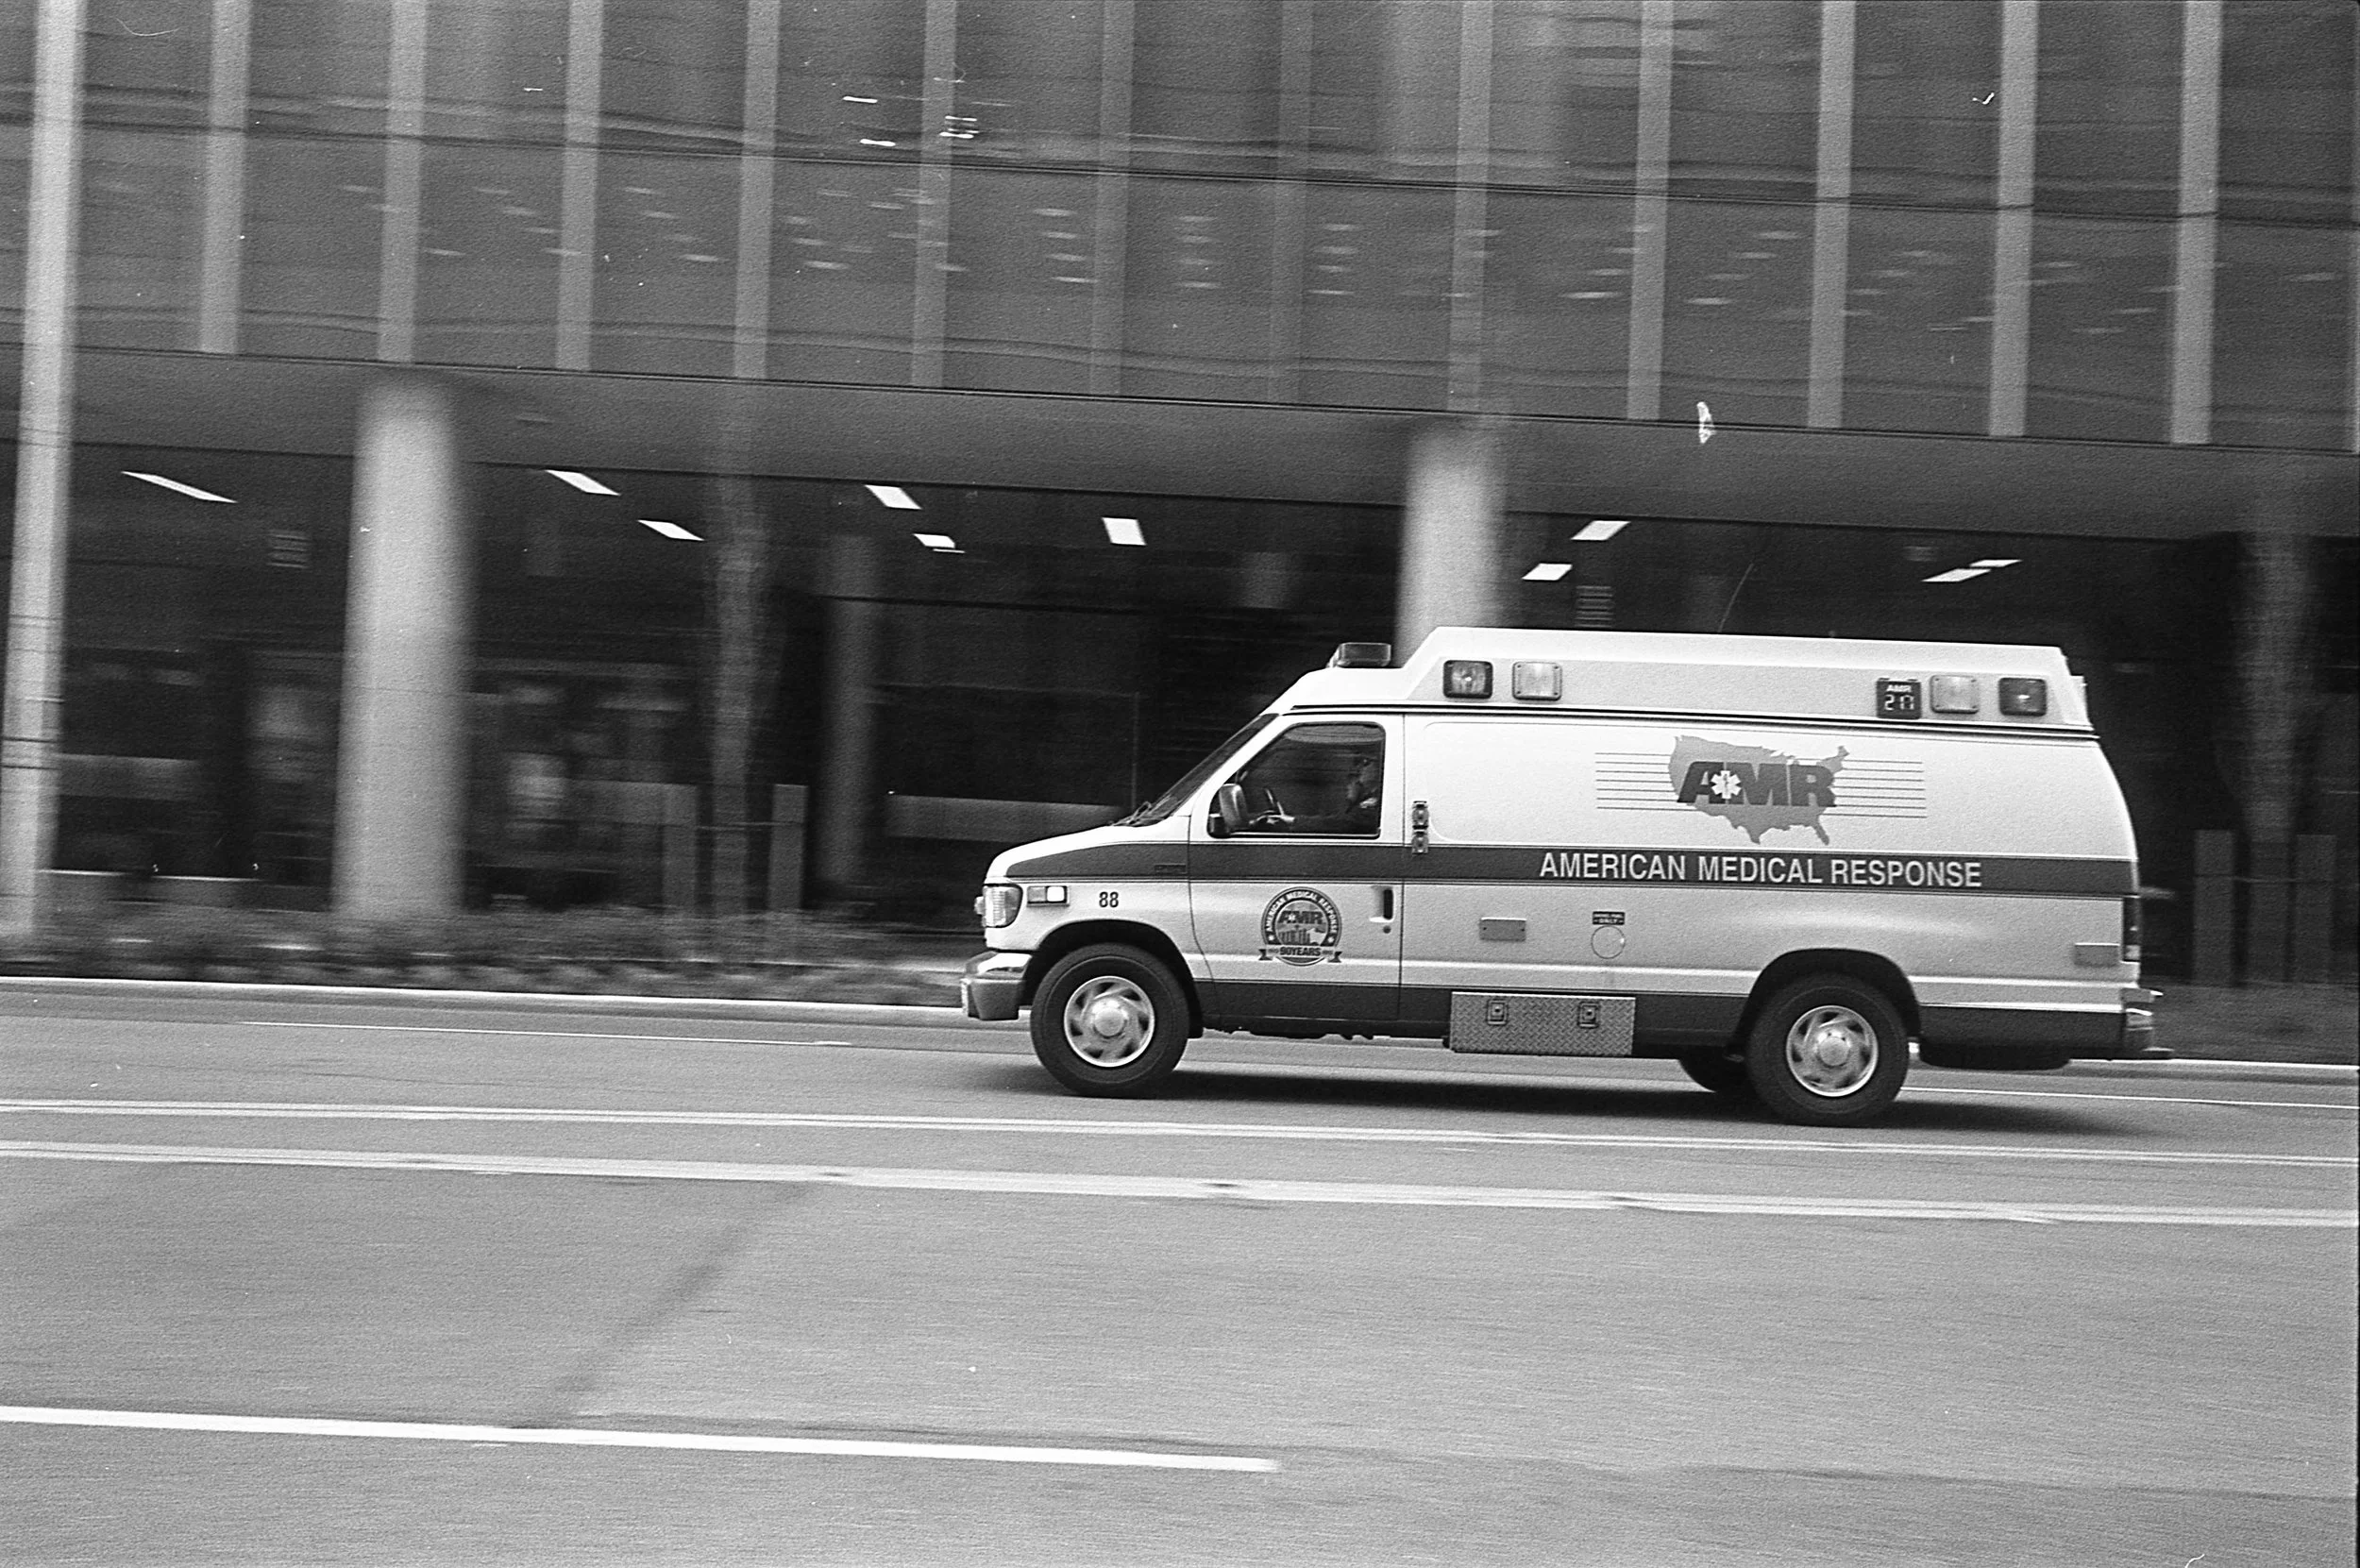
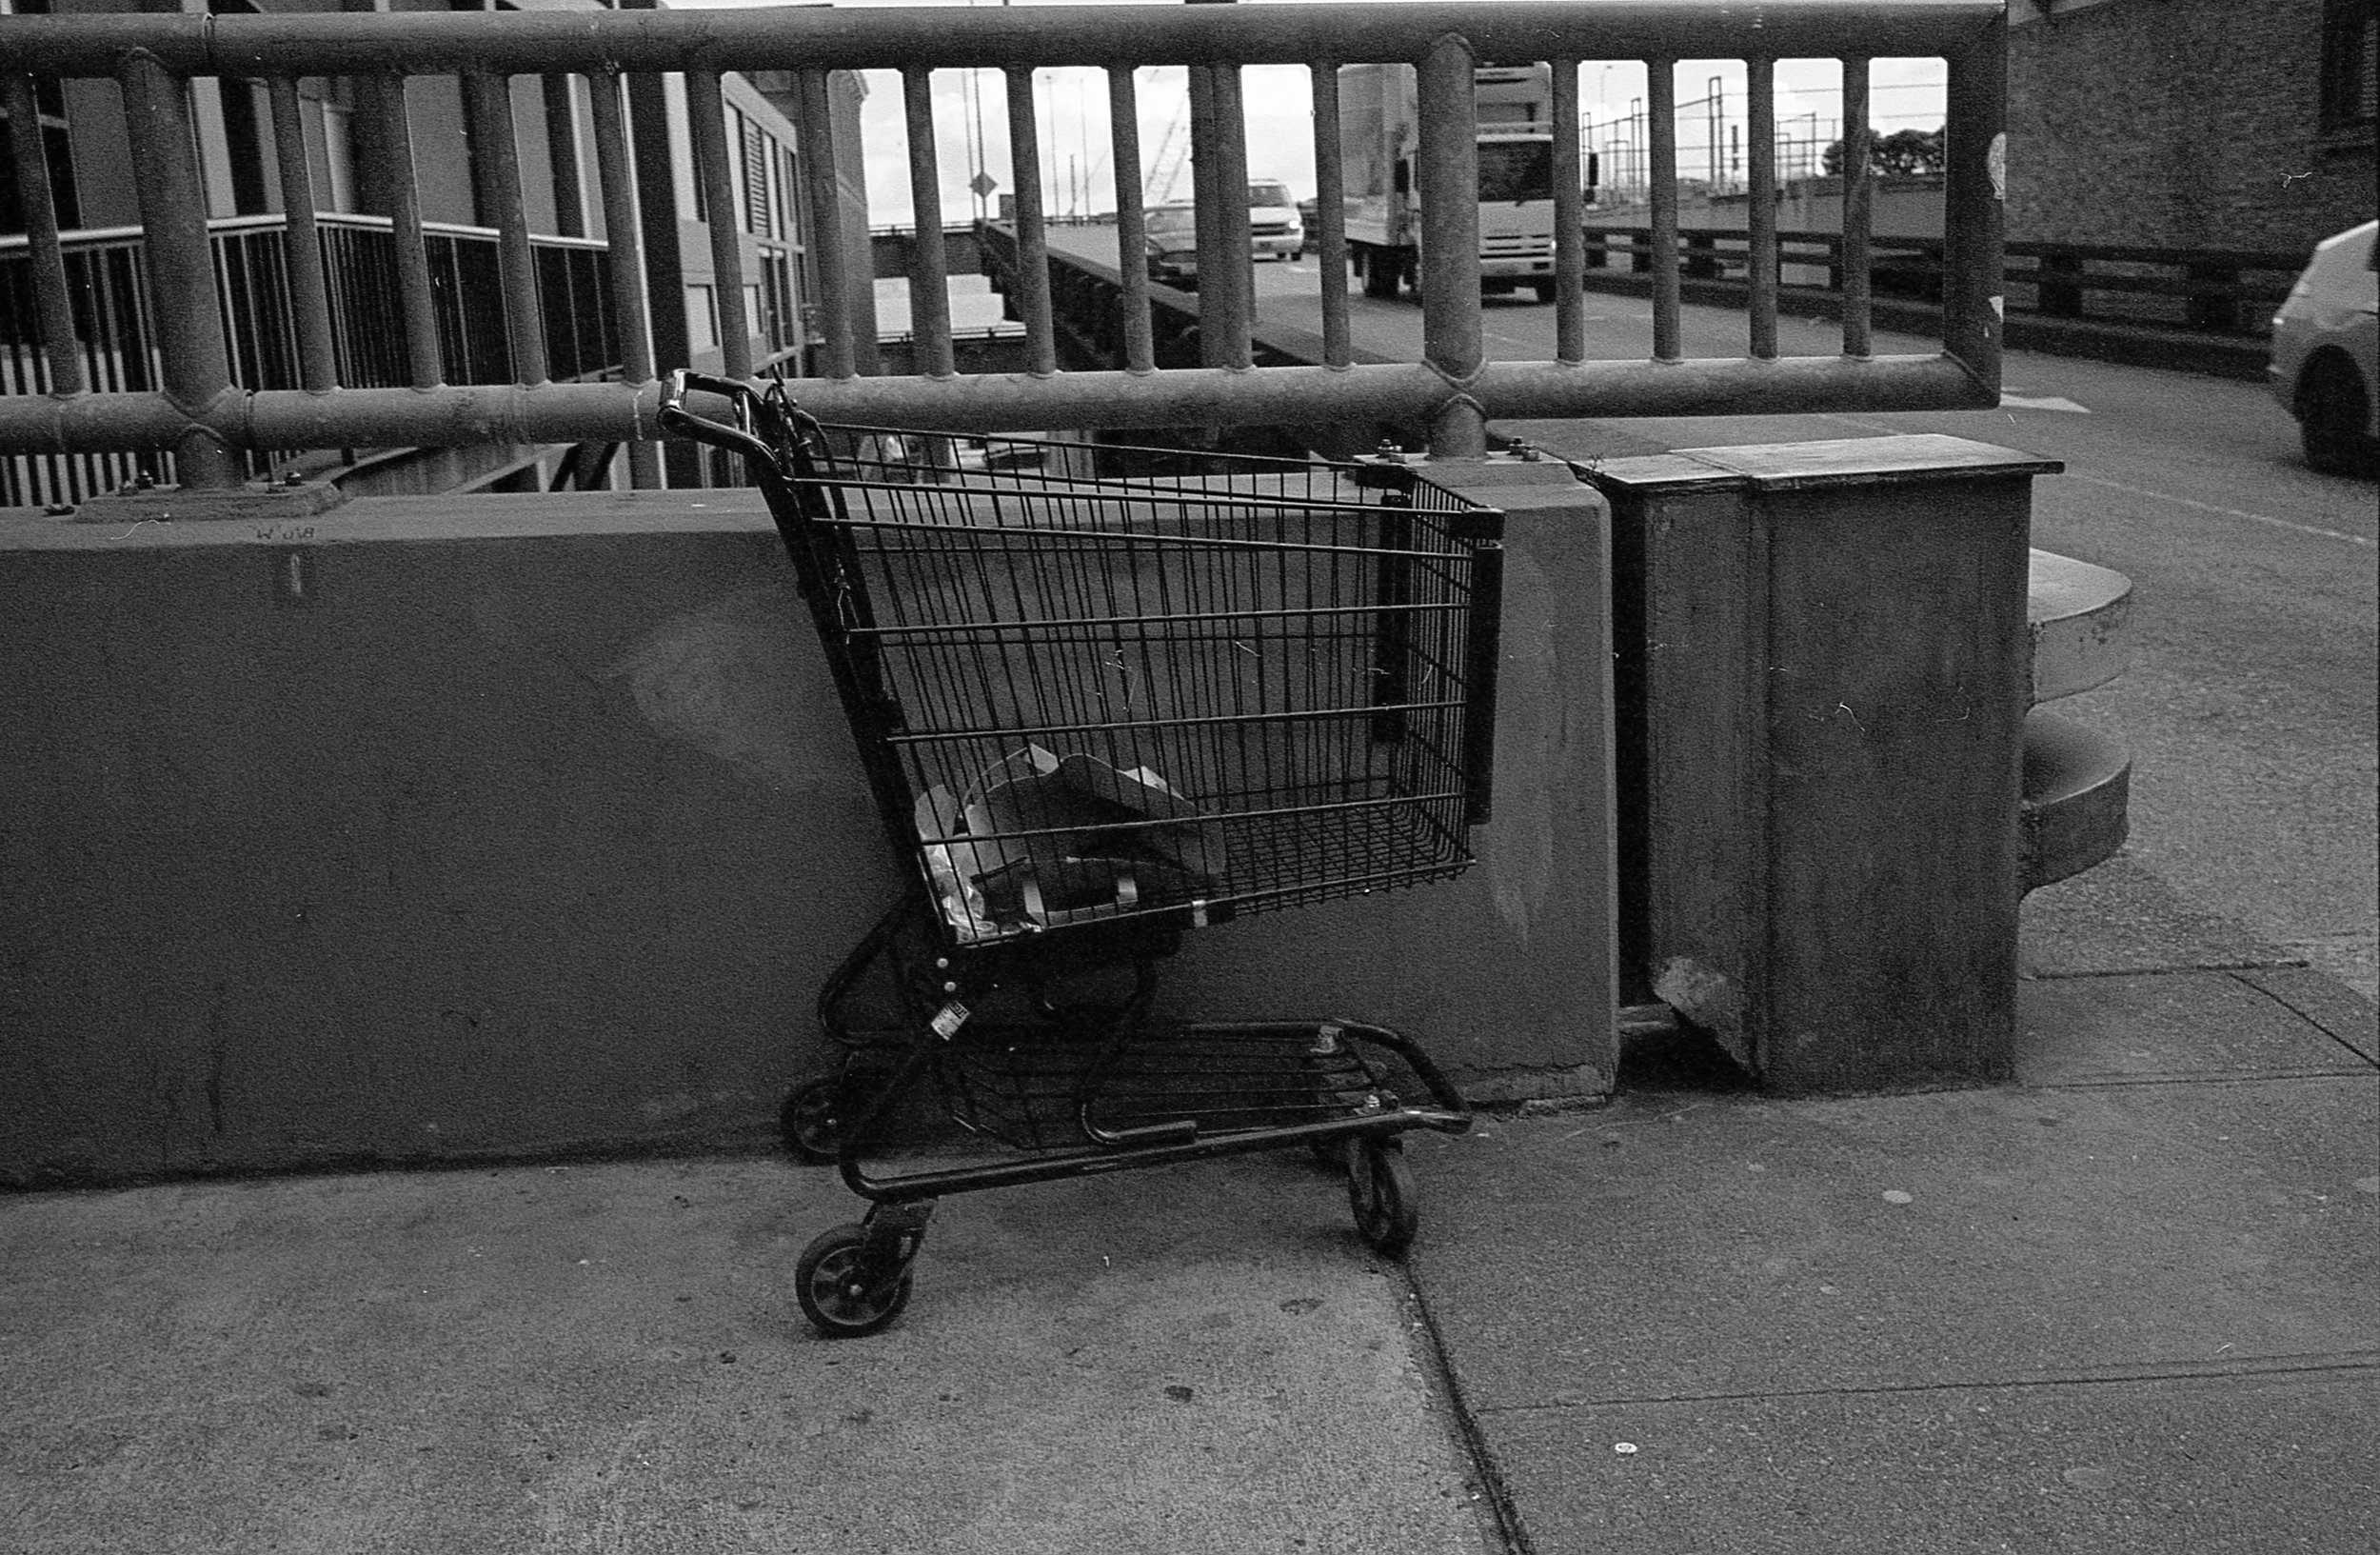
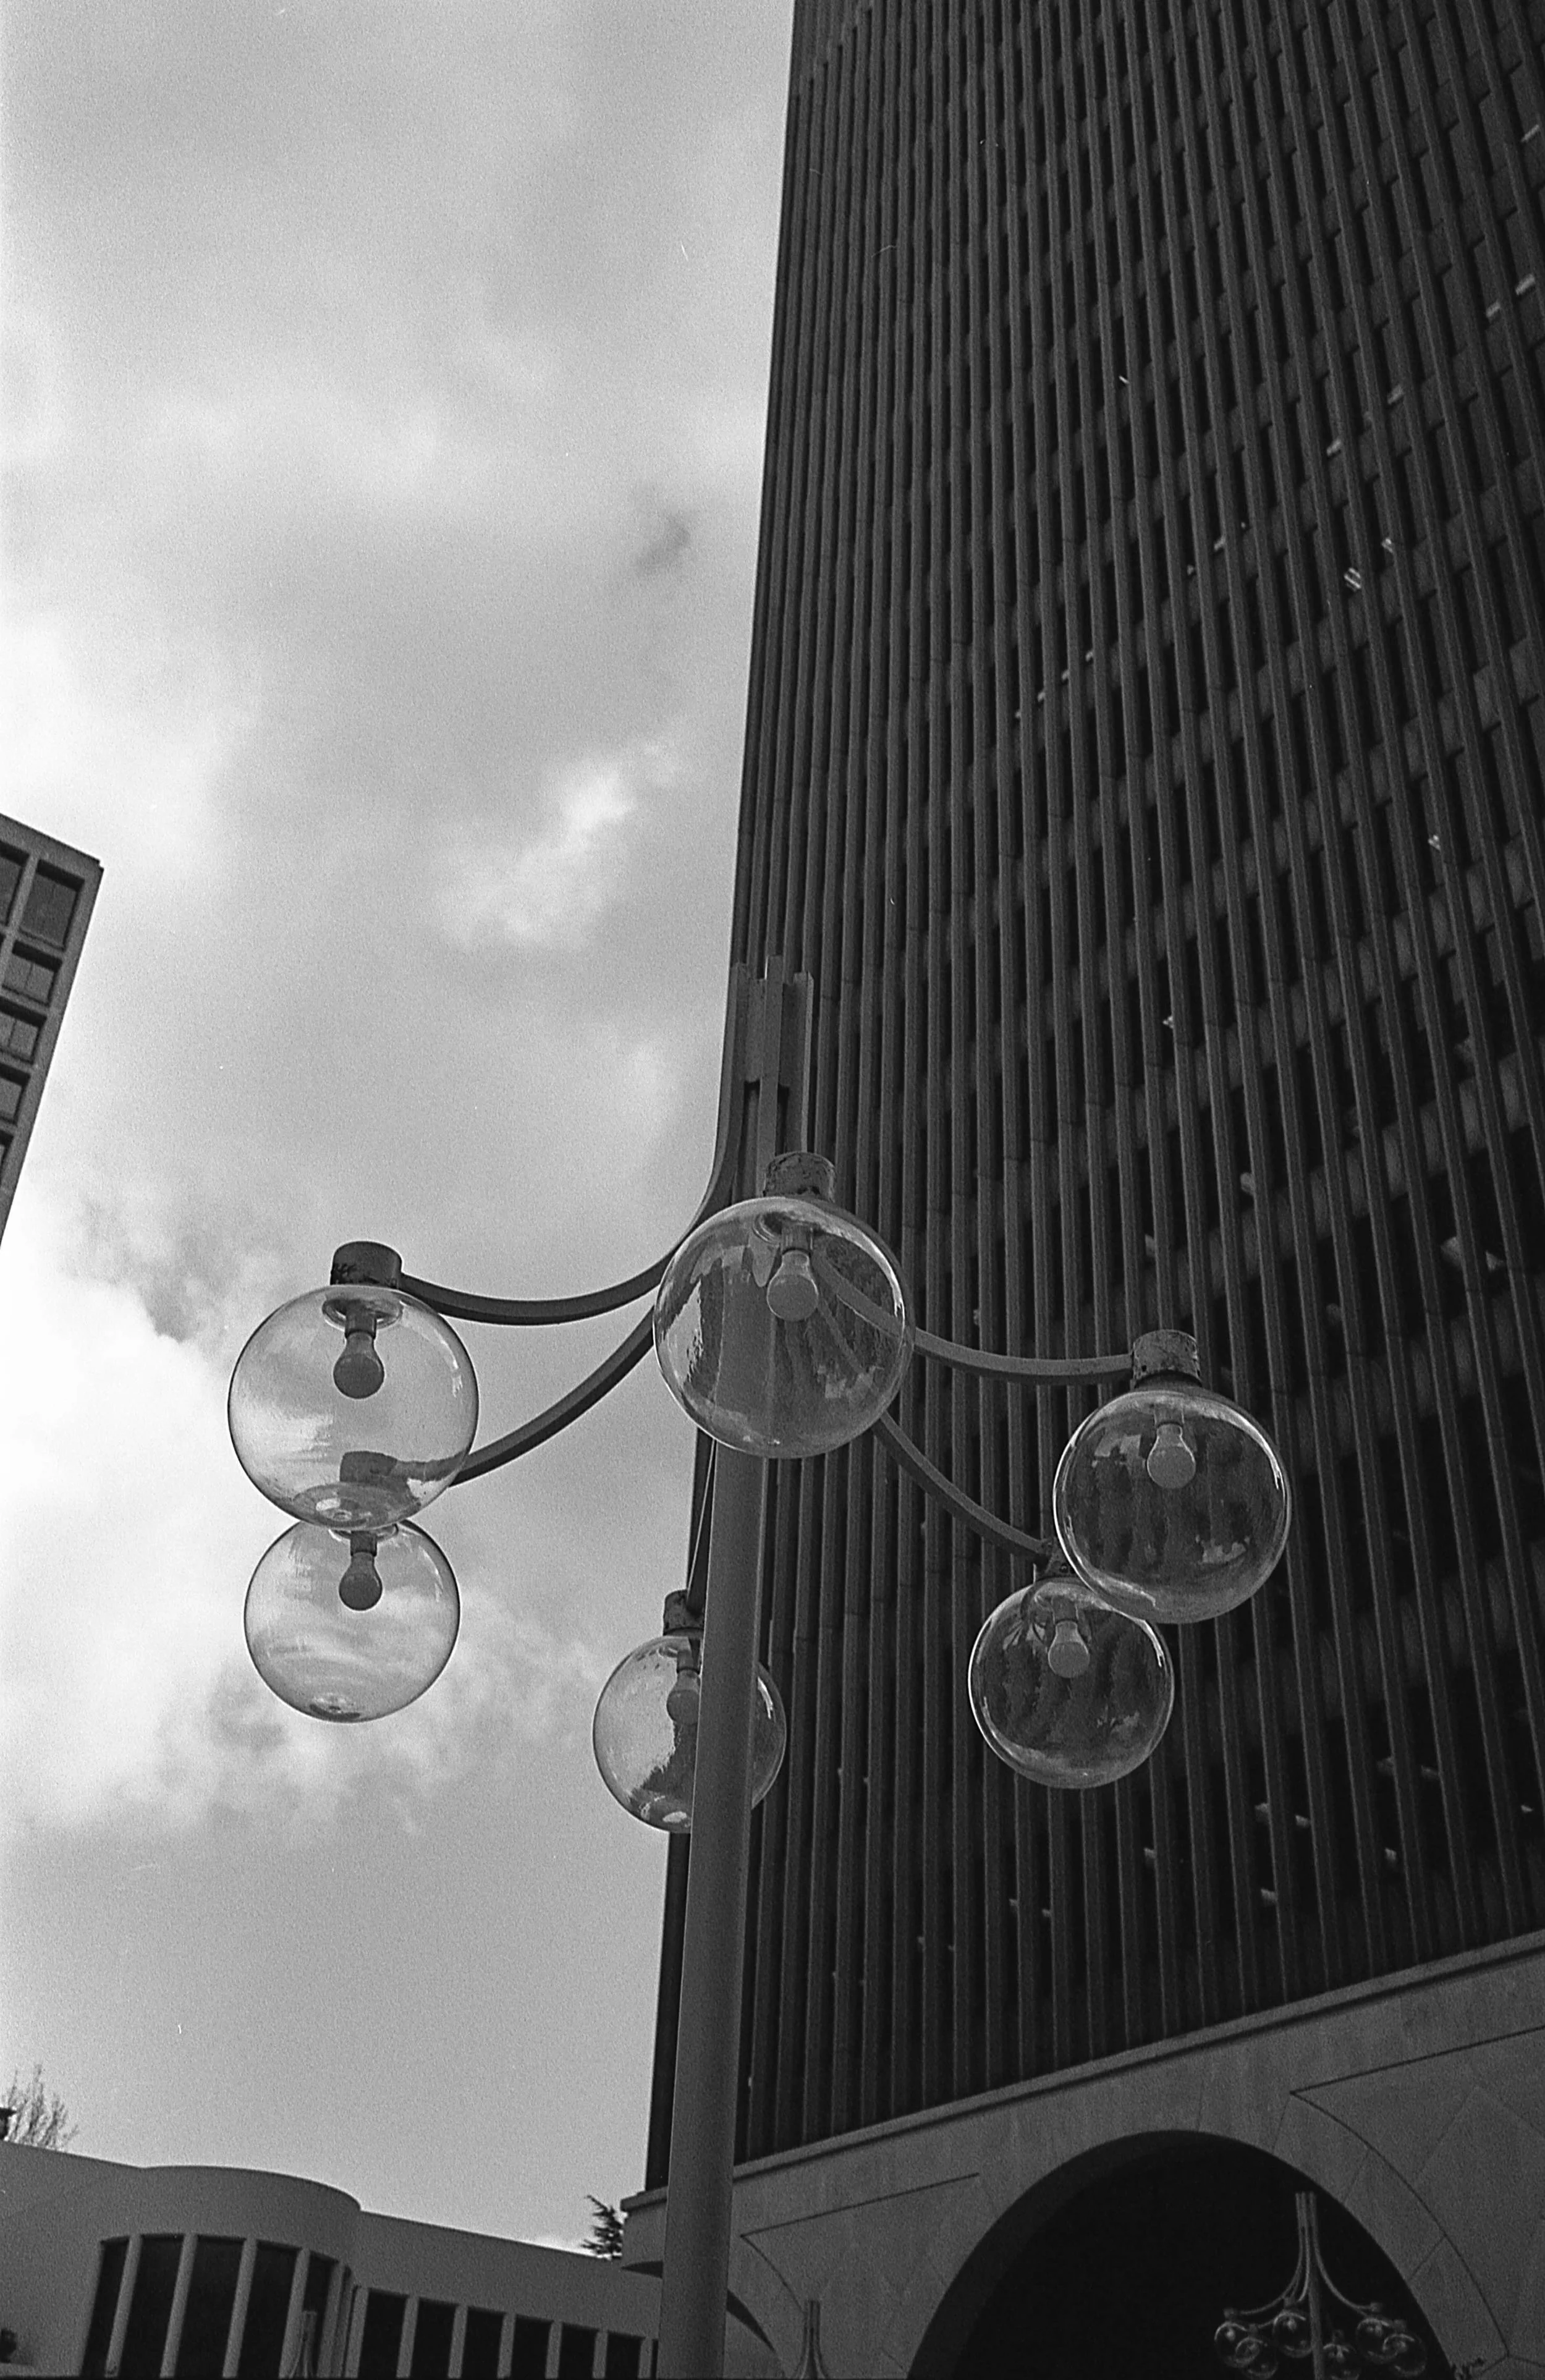
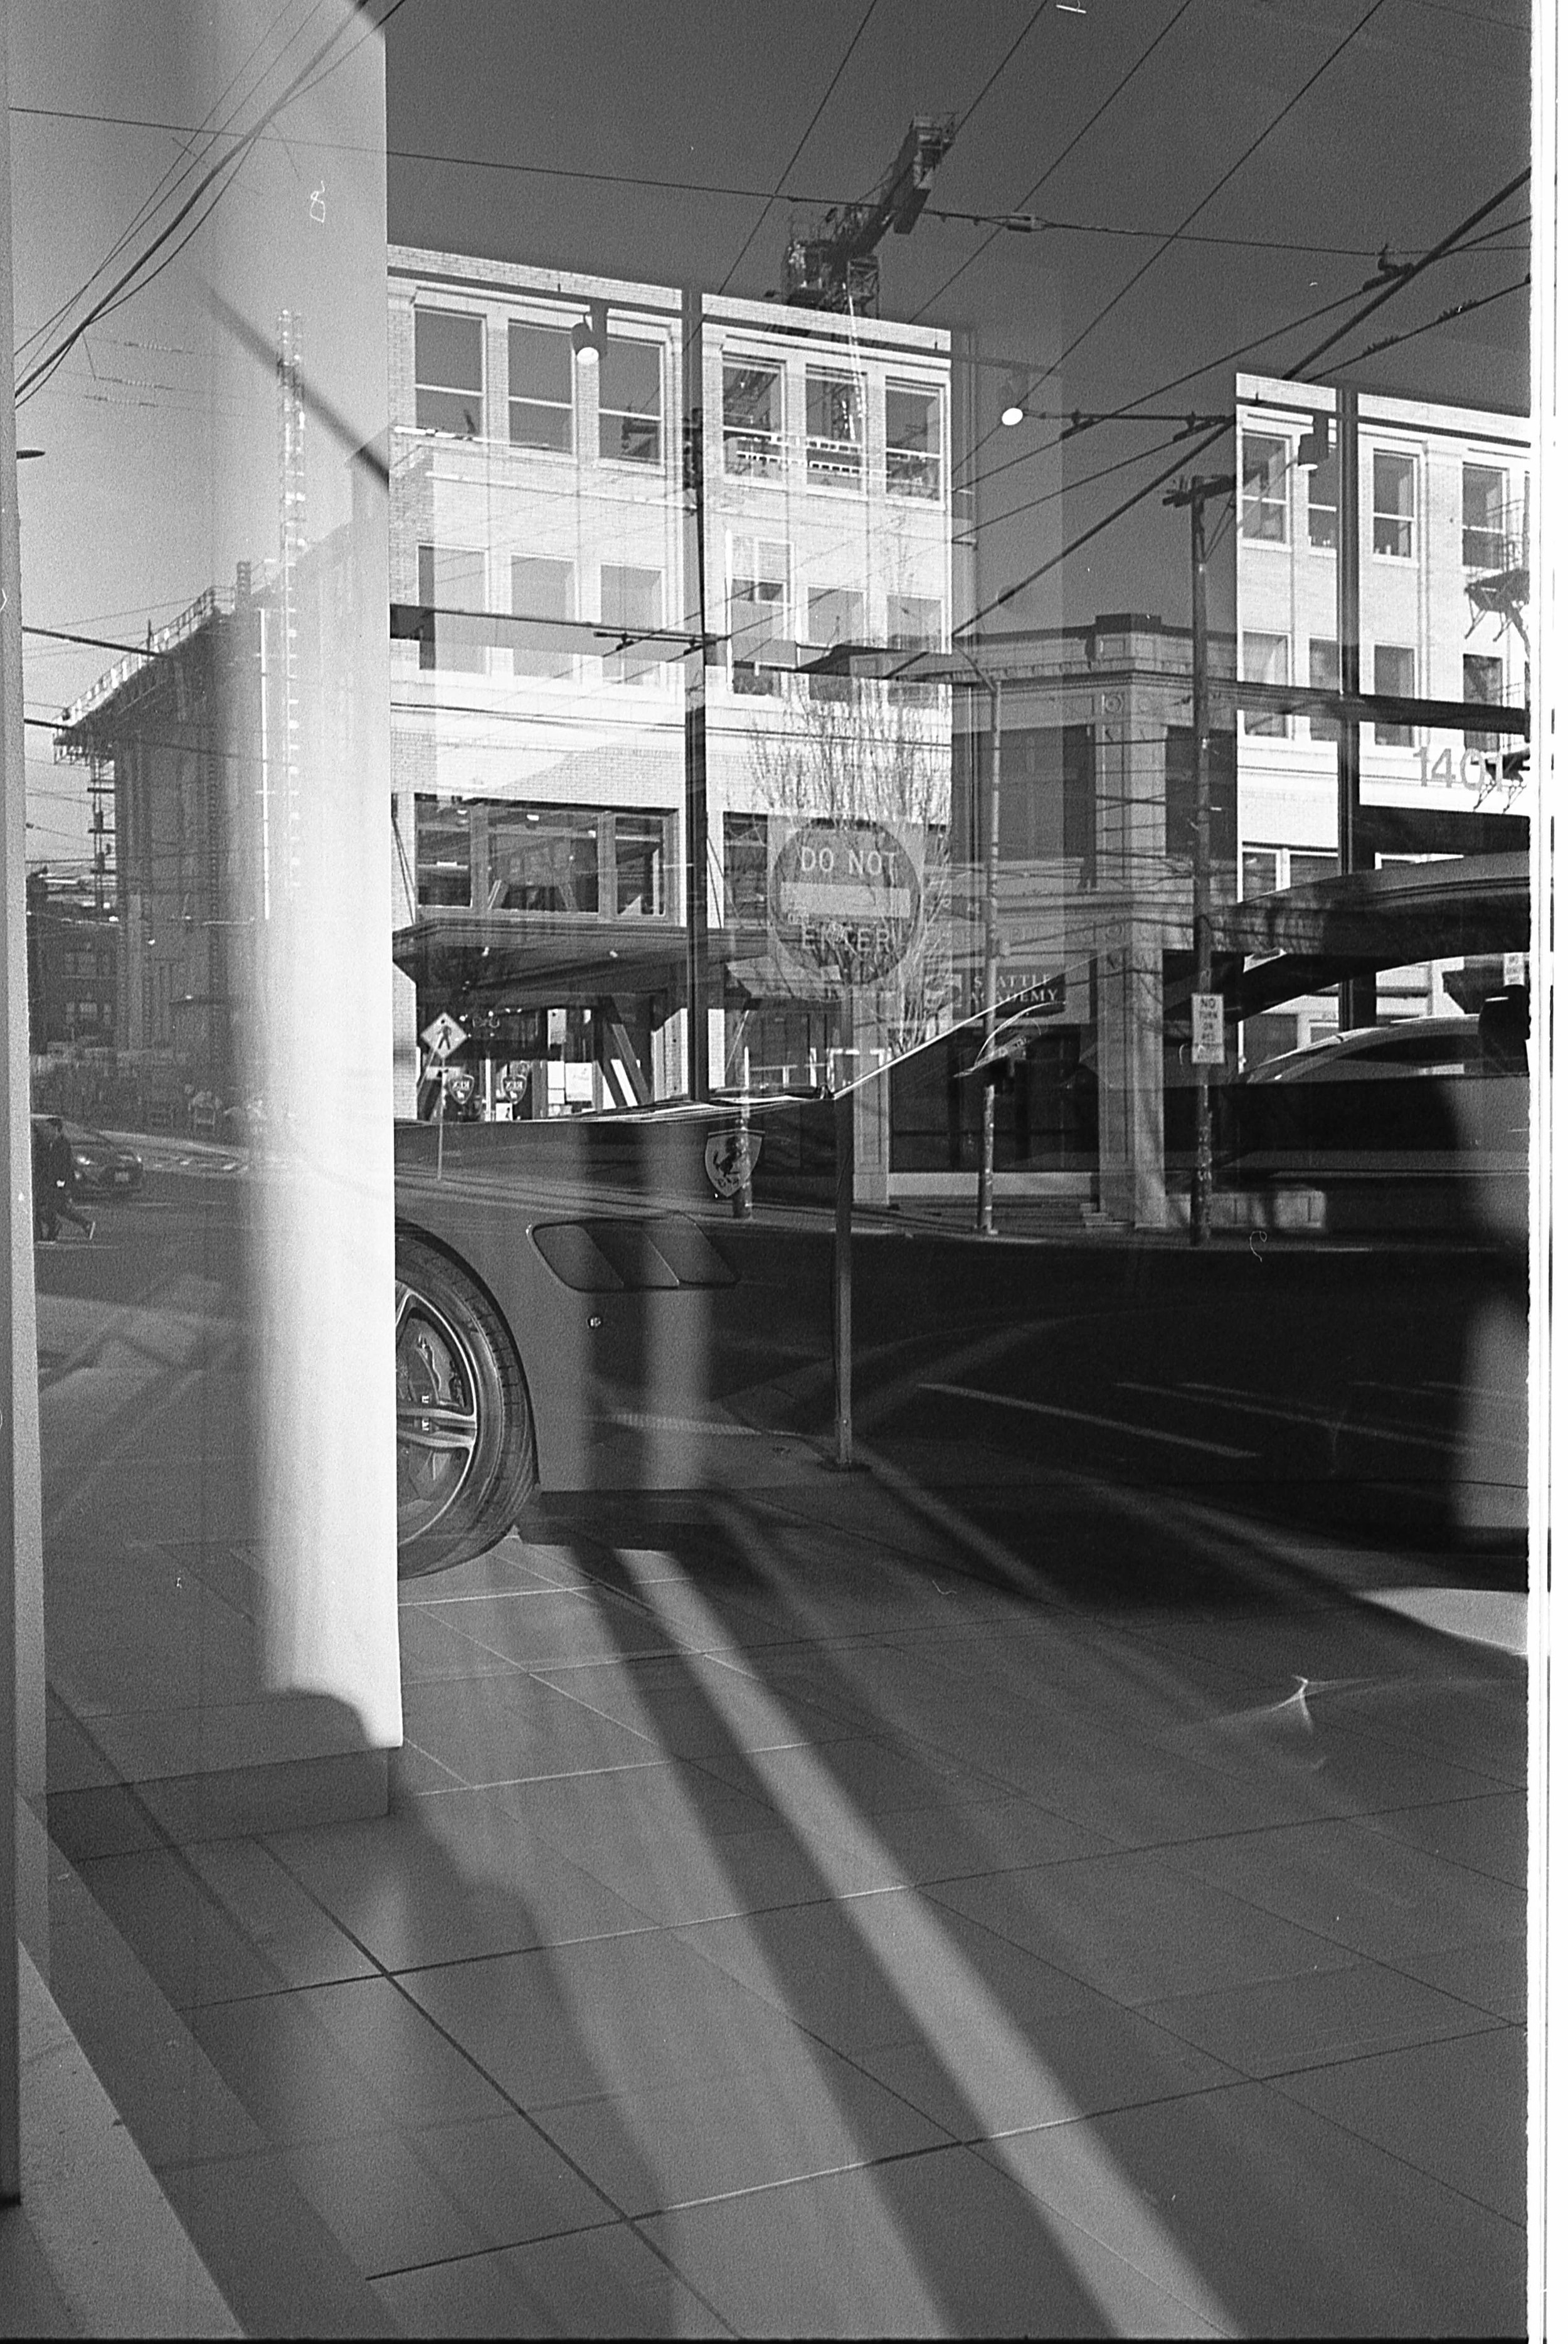
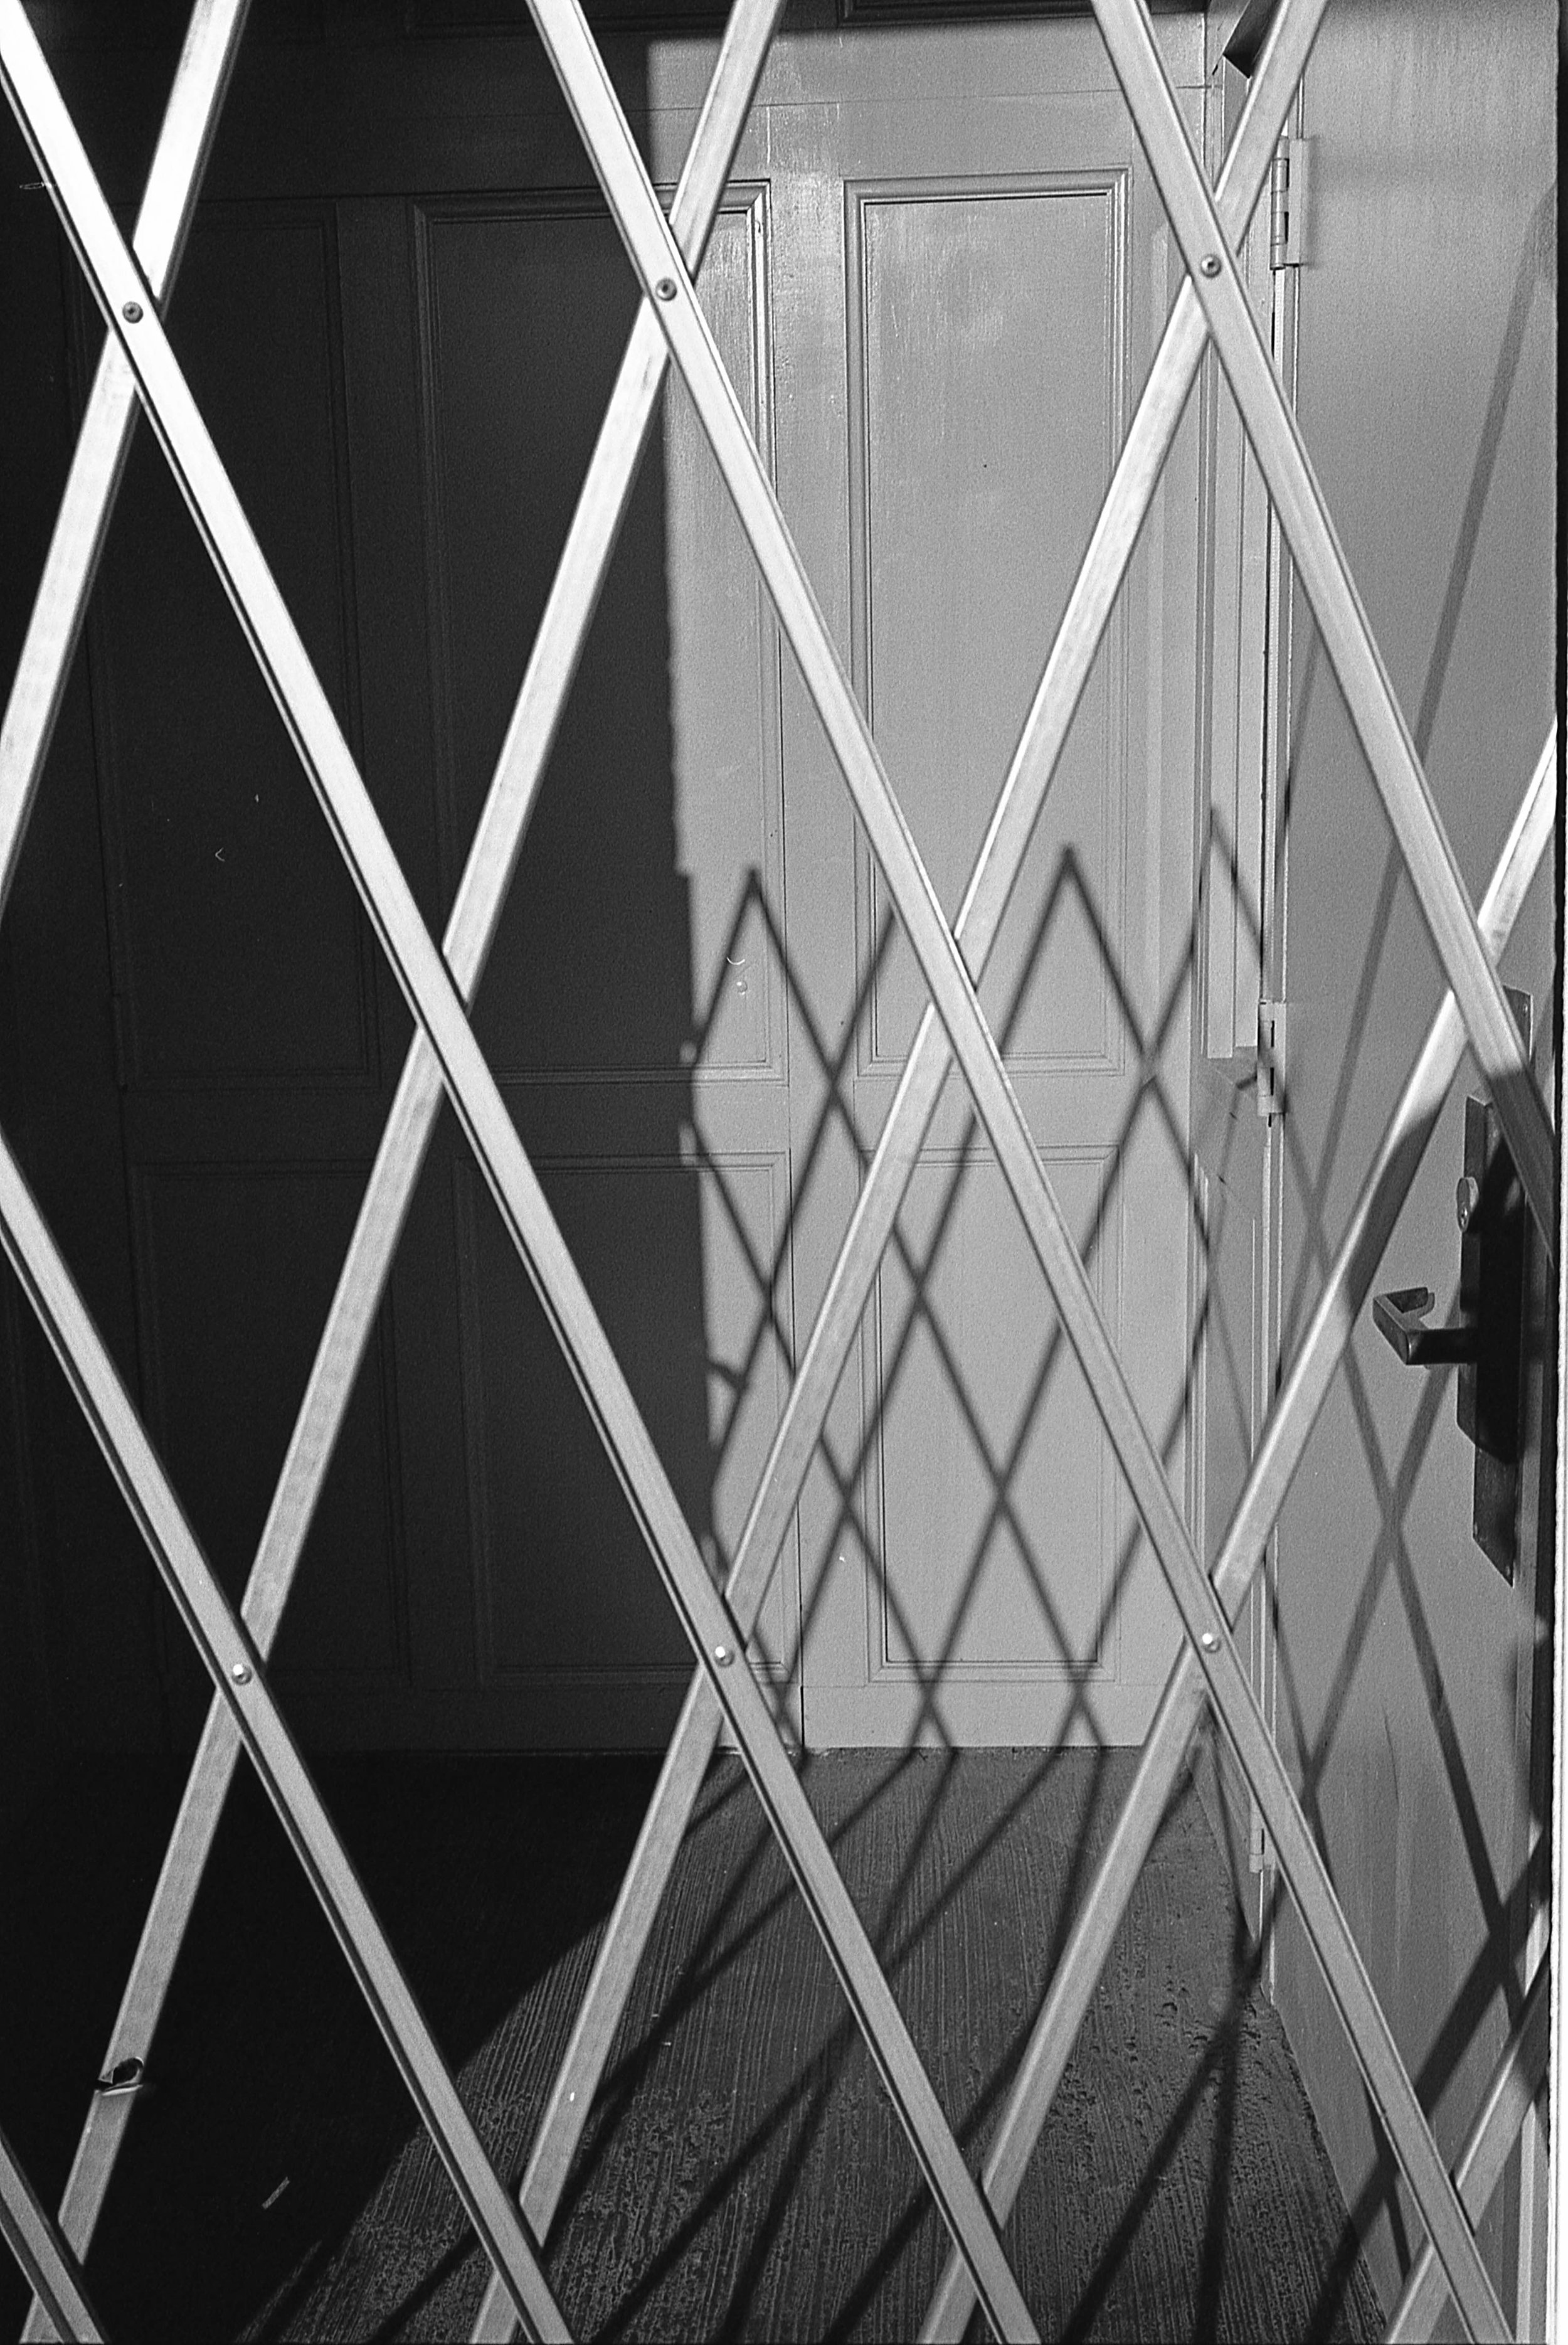
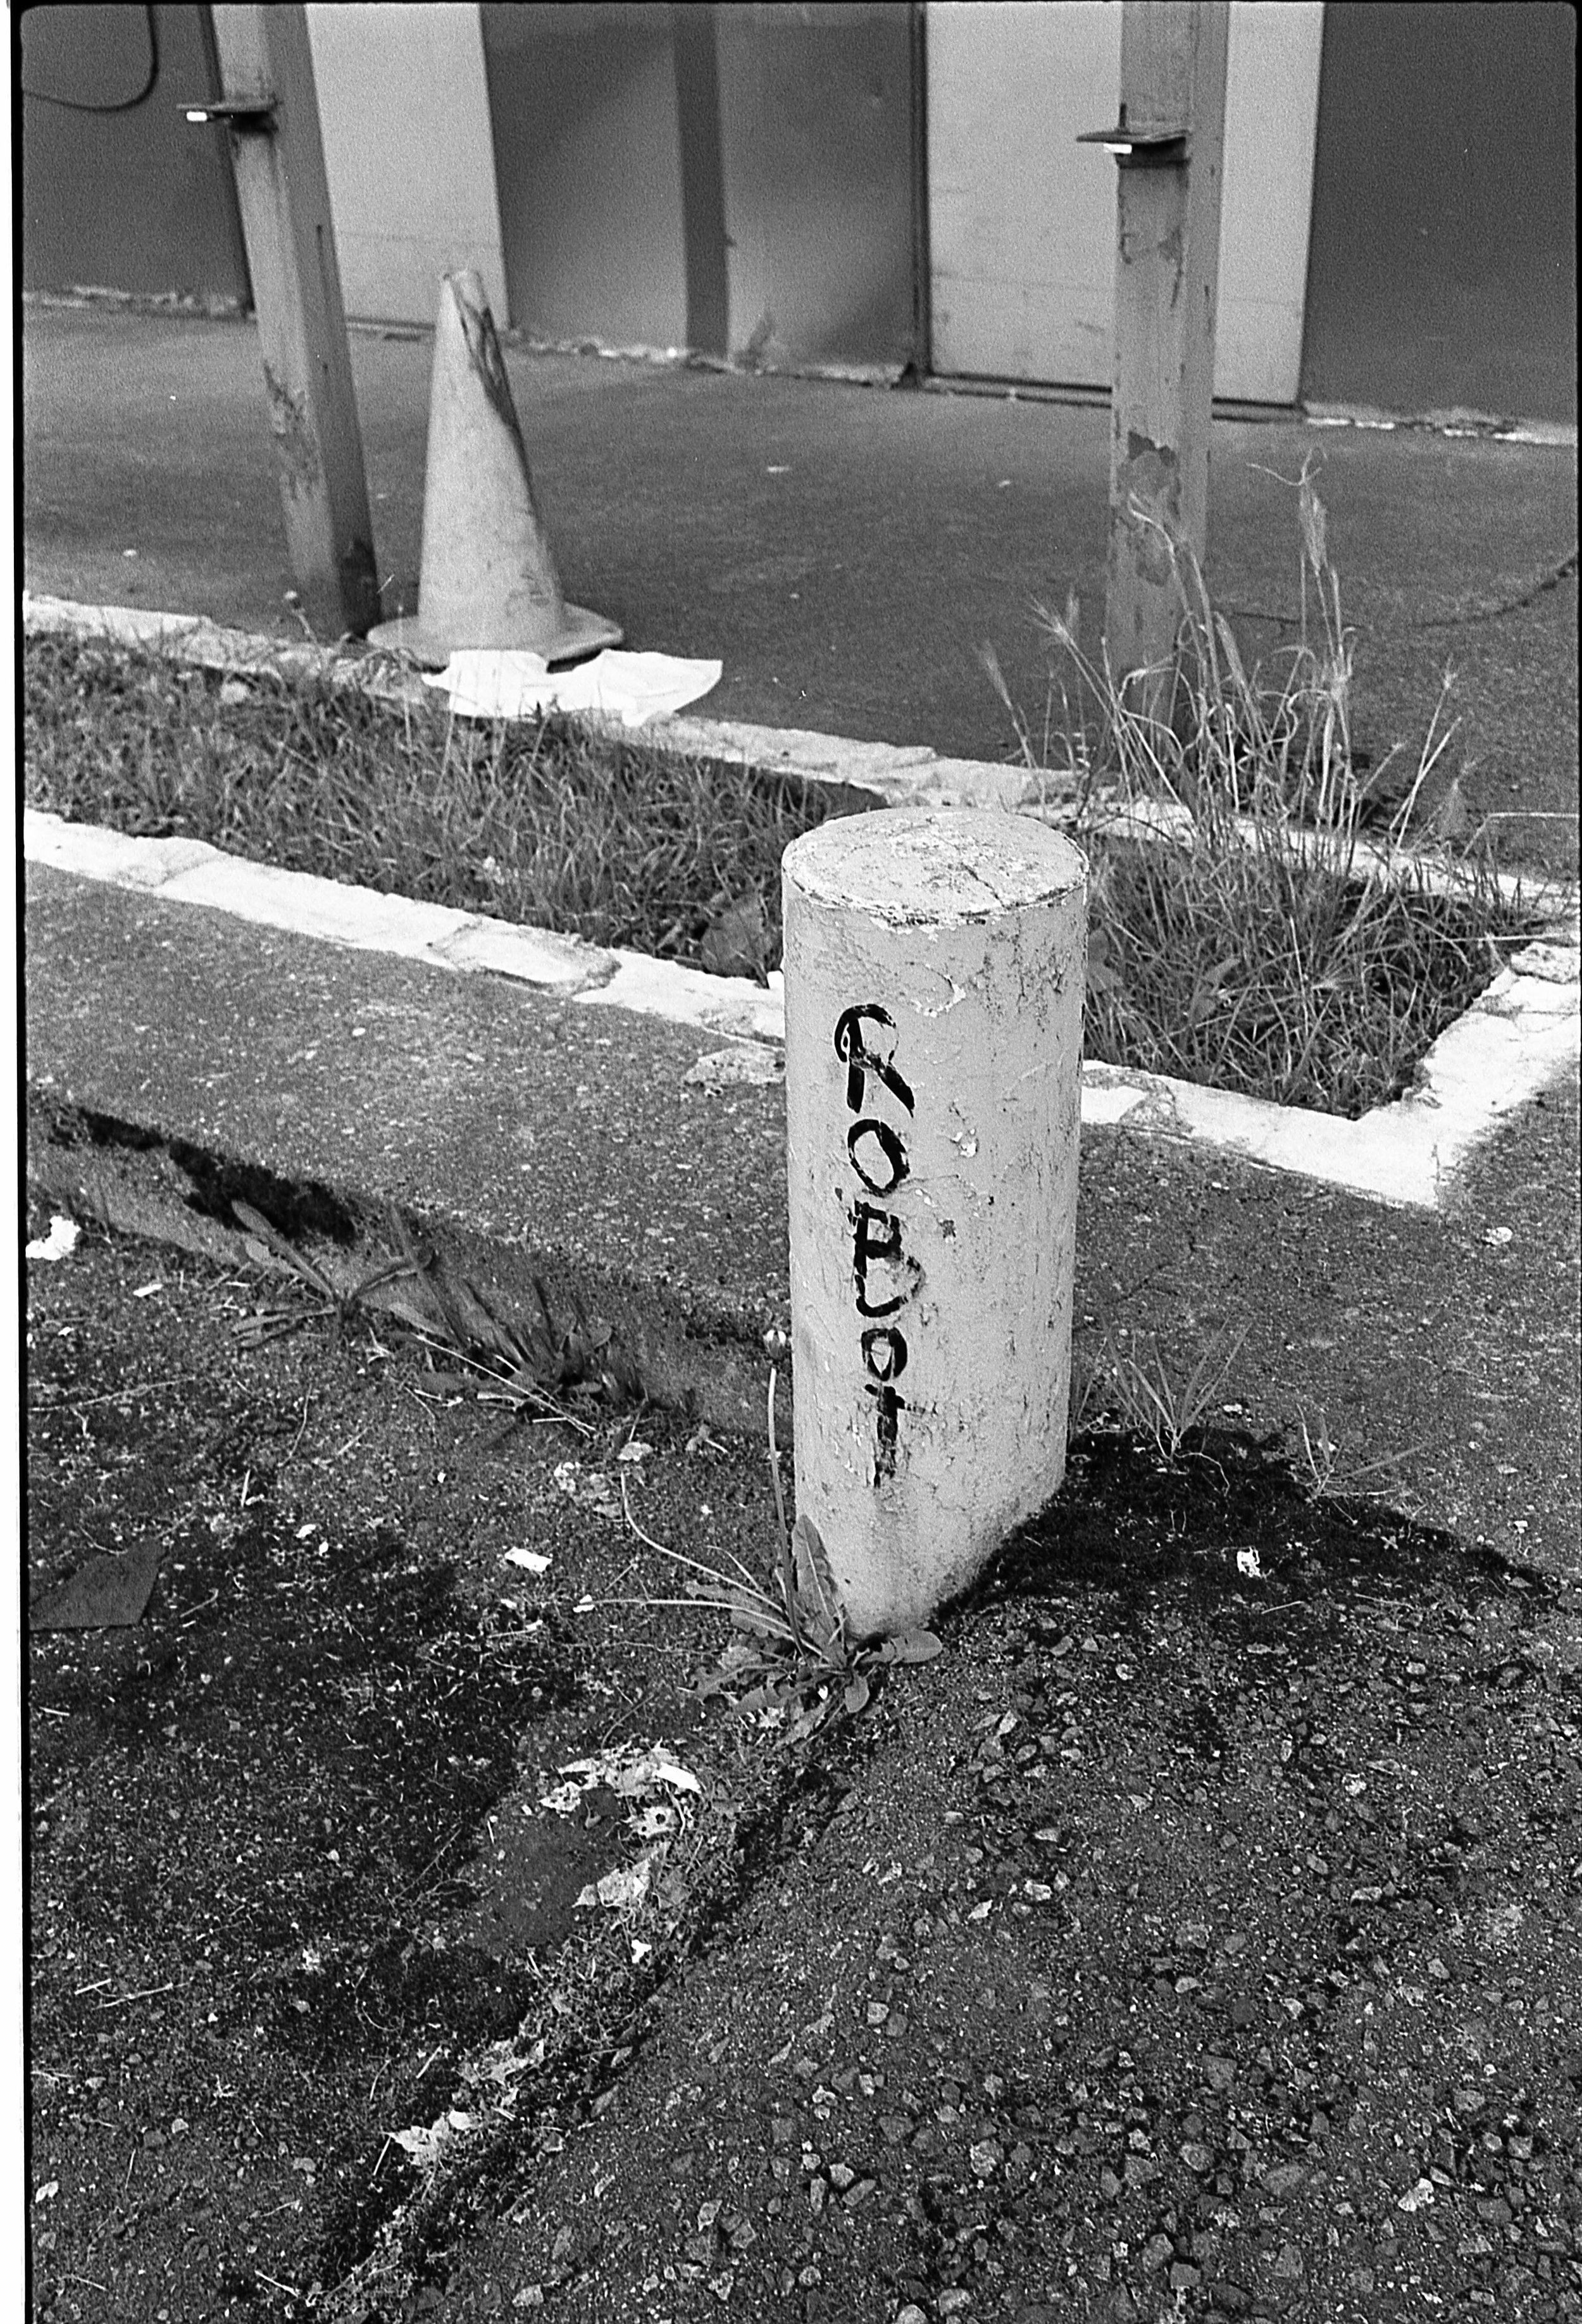
Here's the full roll, uncropped for your viewing pleasure.

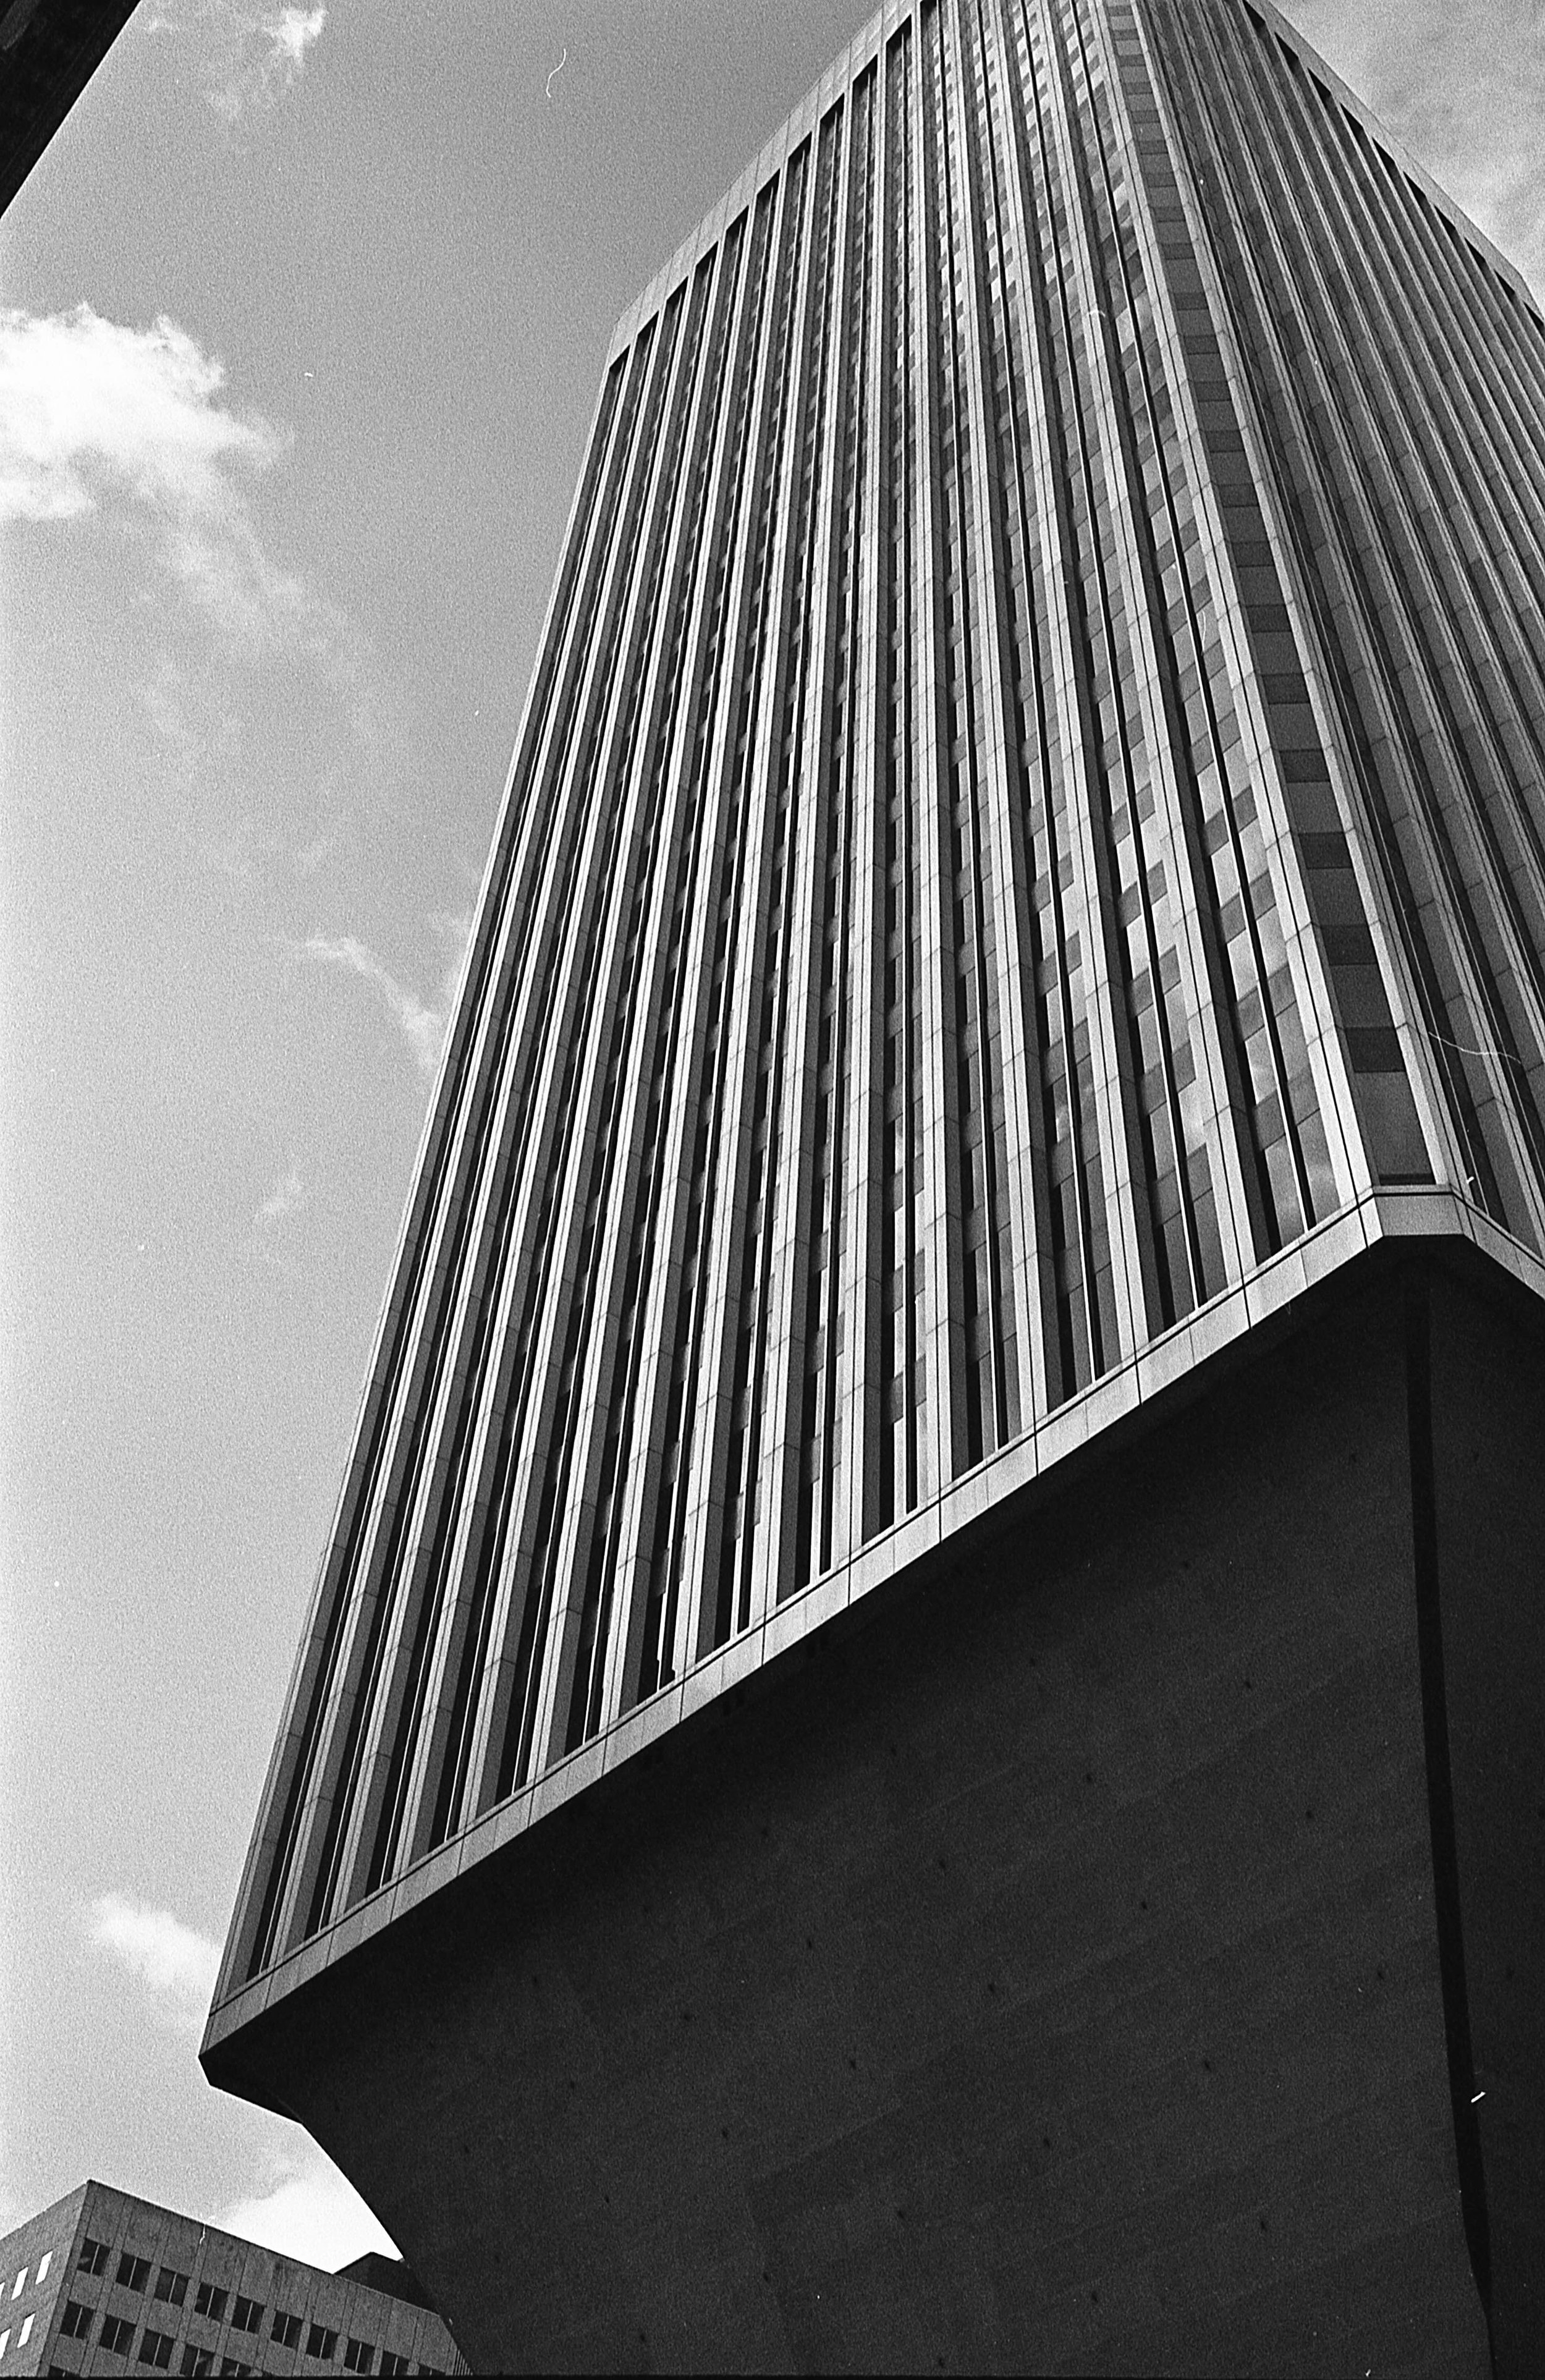
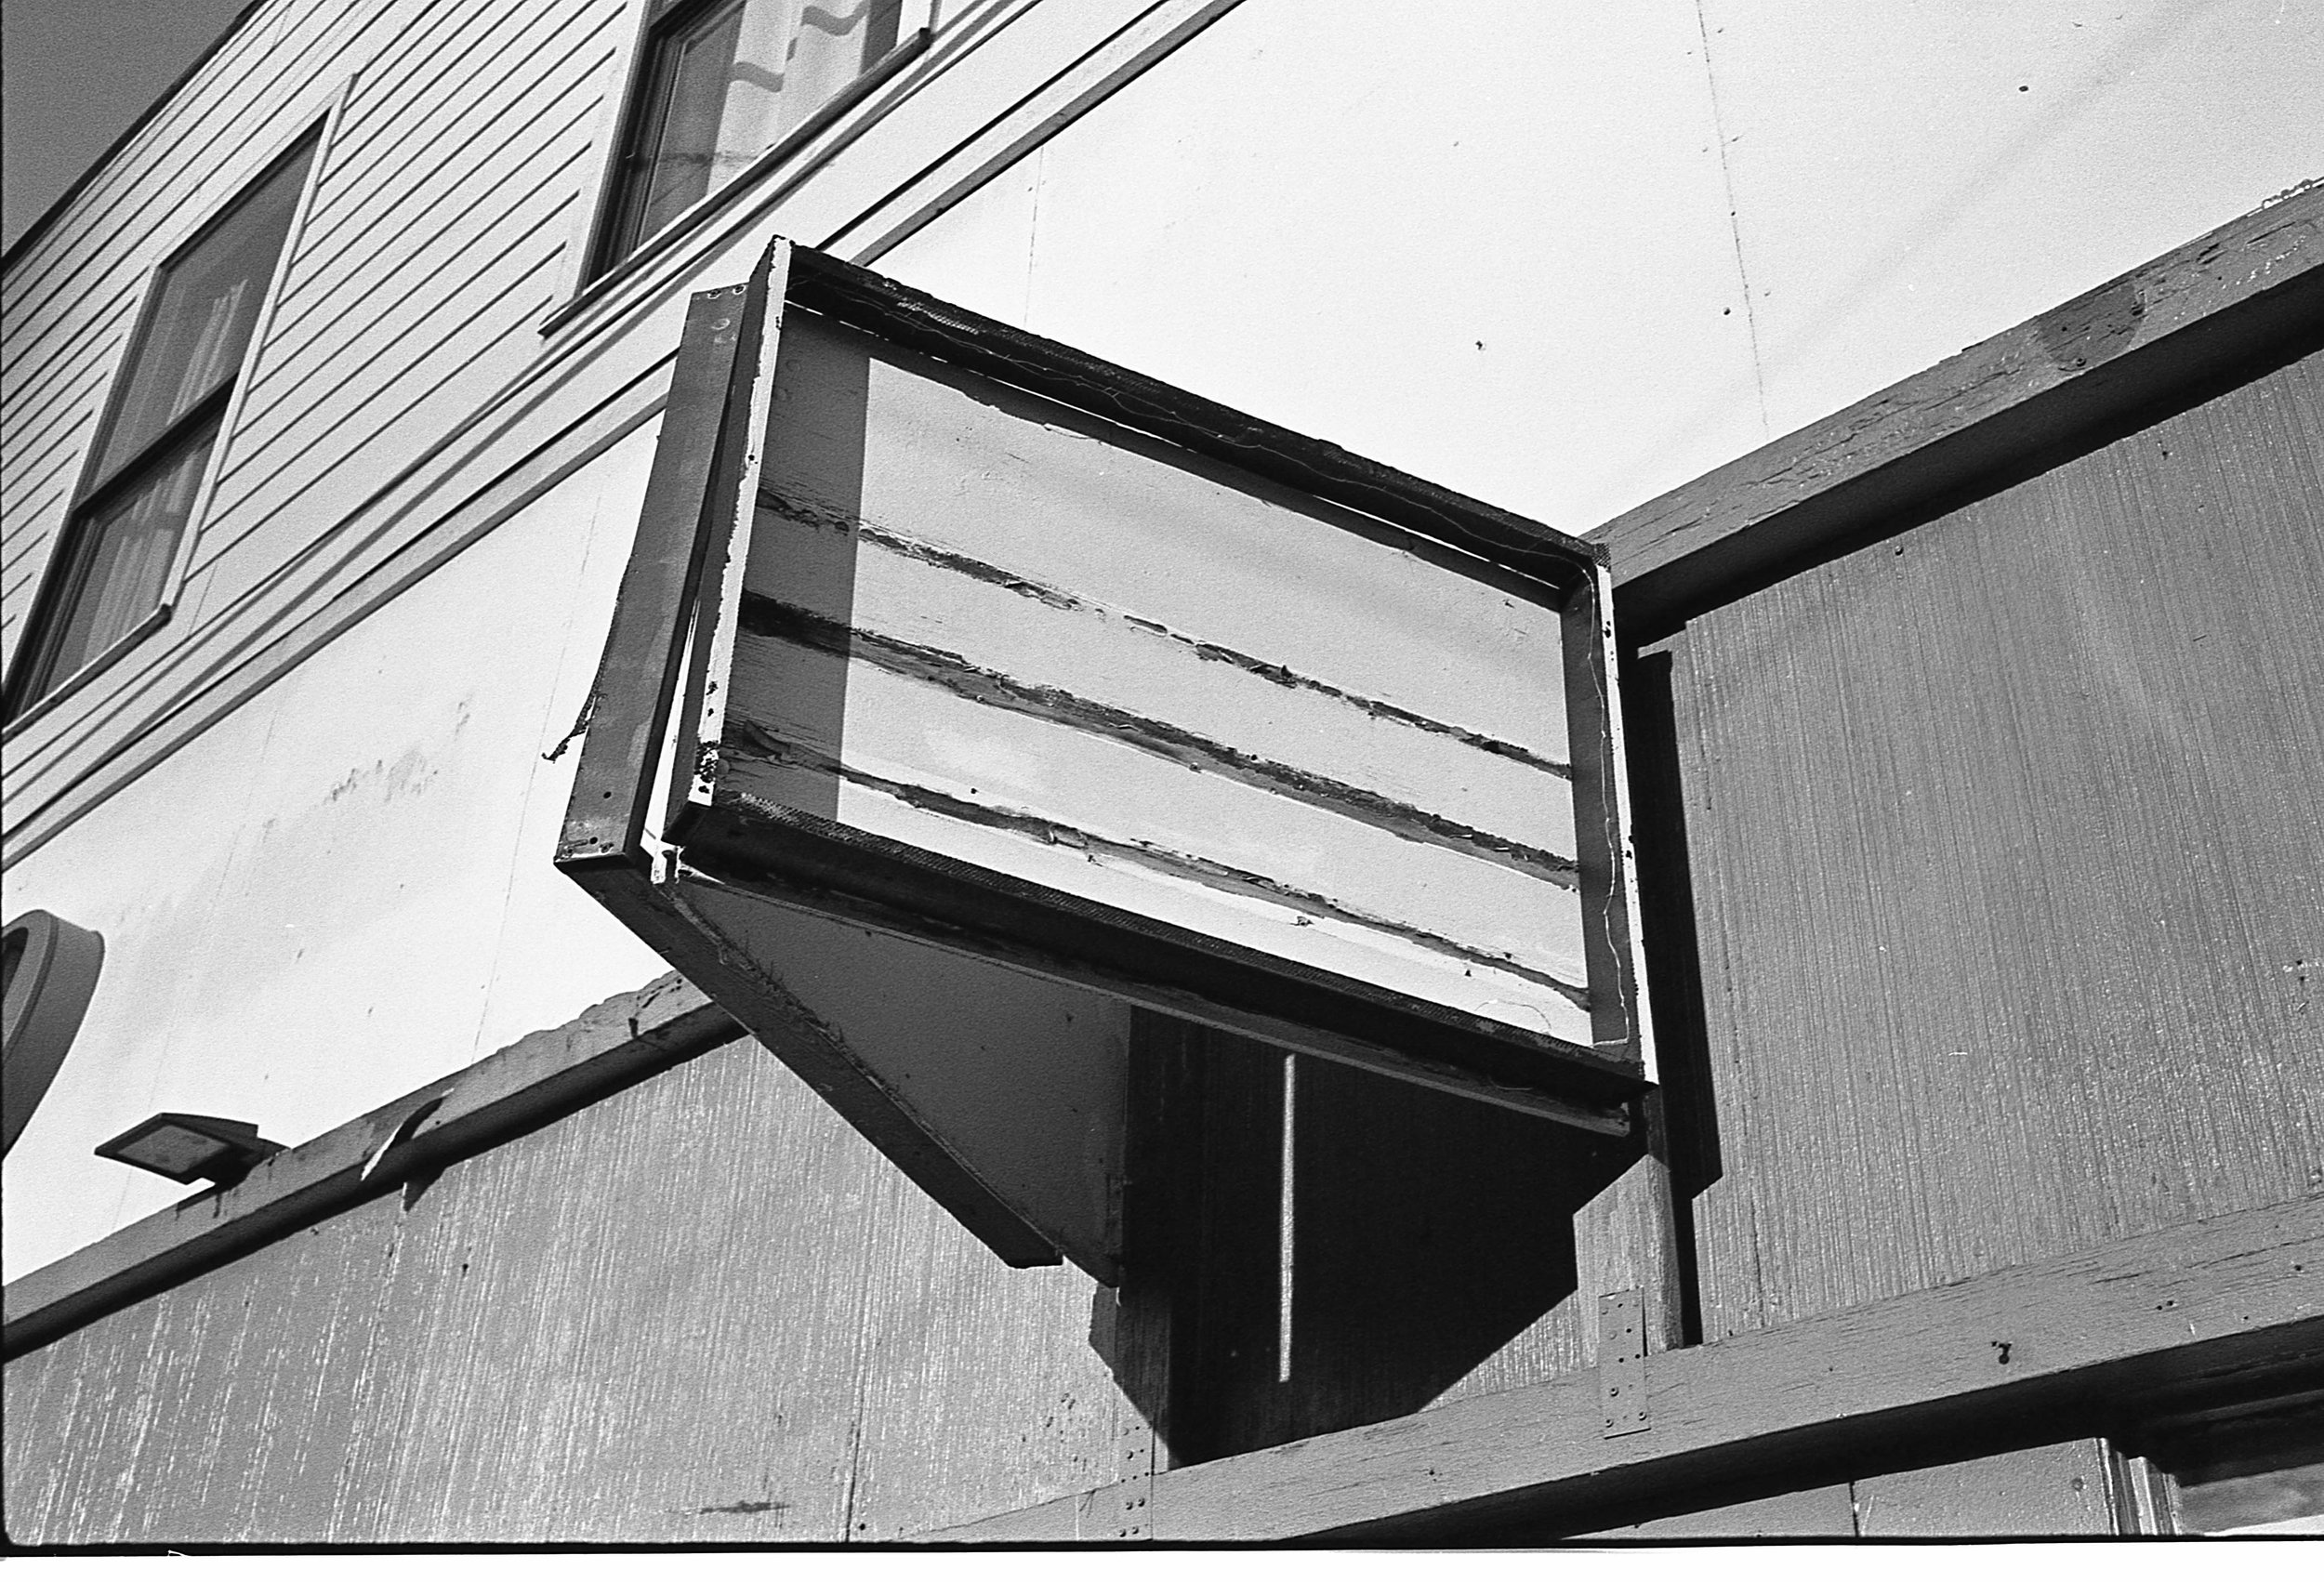
Except for this one. This one was cropped and digitally dusted.